Downward Facing Dog (Adha Mukha Svanasana) is a pose that shows up in lot of Yoga classes, but isn't often broken down and taught (unless you take a beginner alignment focused class like this one). It is a wonderful stretch on it's own and also works beautifully as a transition to many other postures - think high lunge, warrior's, plank etc. This pose has loads of benefits (many of the same as this pose), is a great overall stretch, and strengthens the muscles of the arms and shoulders. Keep reading to see how to move into this pose, as well as some different ways you can modify and work with it to find the best expression for your body. Find some visual cues in the slideshow at the end of the post!

Difficulty level: Beginner
Step one: Begin in a table top position with your palms pressing into the mat, fingers spread, and elbow creases facing one another. Check to make sure your wrists are lined up underneath the shoulders or just slightly ahead of them. Arms should be shoulder distance apart and legs should be hip distance apart.
Step two: Keeping the hands planted into the earth, curl the toes under and begin to lift the hips up to the sky, straightening the legs as the hips lift. The heels reach down toward the ground, but it's ok if they don't touch - as long as they are reaching that way!
Step three: Breath and Stretch
Imagine your lower ribs are moving toward the upper thighs. As the hips continue to lift, feel the strength in your arms, shoulders and legs supporting you.
Arms are straight and elbow creases continue to face one another.
Take a peek at your hands - is the entire palm pressing into the earth? Sometimes the thumb and index finger do not press down which causes a cupping of the palm, so really focus on releasing the entire palm down to the earth.
Head rests between the arms.
Try staying here for 5 - 10 full body, deep breaths.
Step four: When you are ready to come out of this pose you can either release the knees back down to the mat, coming back to table top OR try walking your hands and feet toward one another coming into a passive forward bend, slowly inhaling as you come all the way back to standing.
Tips and Tricks!
- Some people may find it easier to come into this pose from a forward bending childs pose - play with it and see what feels best in your body!
- "Walking the dog" is a great way to start in this pose. Bend one knee at a time - walking in place - to help stretch the back of the thighs, calves, ankles and feet. After you have done this a few times, hold the pose for 5 or more breaths.
- Try doing this posture with your heels into a wall to help feel the sensation of the heels reaching down toward the ground
- While in the pose, deeply bend the knees - keeping the arms straight - which will automatically send your hips up to the sky! Keeping your hips where they are, straighten the legs
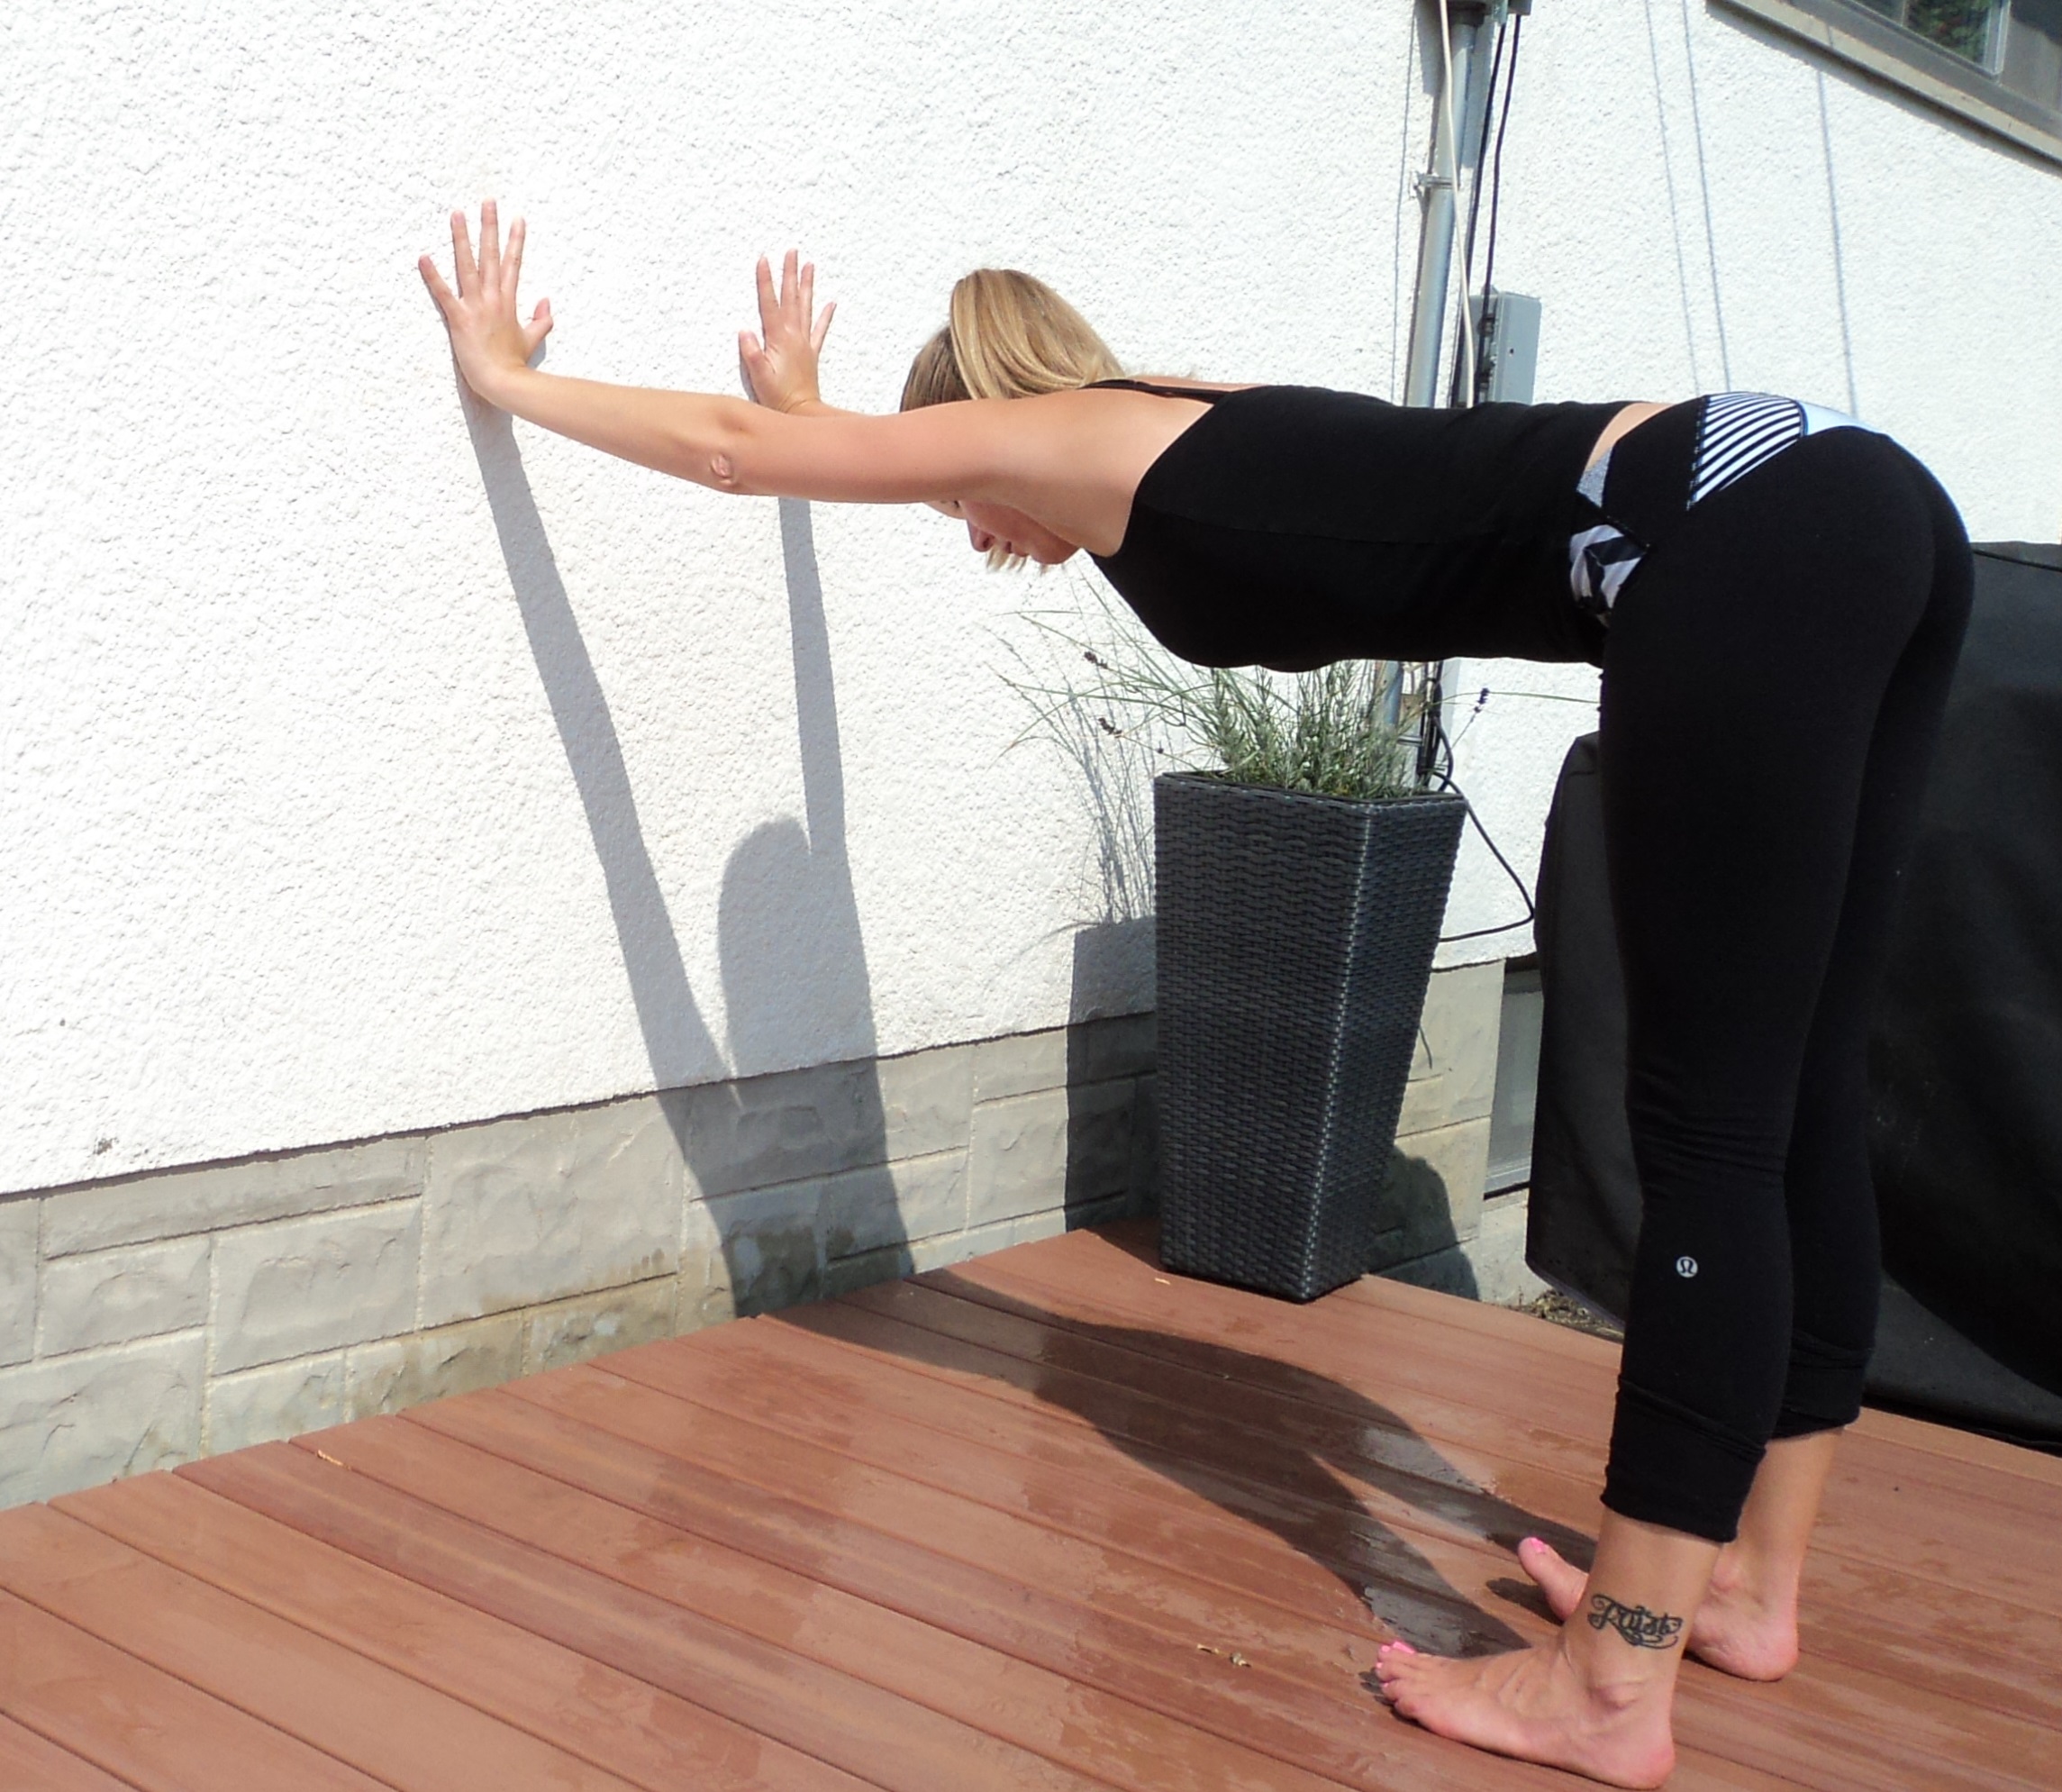
- You can also utilize a chair for this pose or try the wall version


Namaste!