Yoga

Your Best Yoga Outdoor Yoga Class Recap!

I wanted to say a big thank you to all who came out to the Your Best Yoga Outdoor class this evening!! It was such a great class - with the levels of experience ranging from 1st time Yogi's, people with limitations/injuries, experienced Yogi's, and of course a lot of eager Yogi's. I love taking my Yoga practice outside in the summer and am glad you did too! I really hope to see you all in September when Your Best Yoga starts regular programming sessions again. Have a great Summer everyone!!

Snacks for pre or post Yoga Practice

Snacks for pre or post Yoga Practice

Triangle pose legs

Triangle pose legs

Short Savasana before the mosquitoes came out :) 

Short Savasana before the mosquitoes came out :) 

For more information about the Your Best Yoga Program and to subscribe to the mailing list so you don't miss out on September classes - click here

How Strength Training Complements my Yoga Practice (and vice versa)

I started going to the gym and strength training in November 2015. Prior to this, my only gym experience was going to the YMCA and using the elliptical for half an hour and maybe some free weights. Otherwise I stuck to Yoga. After practising Yoga for years, I noticed that the practice wasn’t affecting my body in the same way. I wasn’t sore - in that good muscle sore way - even after a more challenging class.  I also wasn’t viewing my practice as “a workout”, which I probably had when I started practising years earlier. As I get older, my metabolism seems to be slowing and I’ve become aware of how my body was feeling and looking a bit different than it had. After years of invitations from my boyfriend to join him at the gym, I finally said “yes” and found myself in a weight-room. Currently, I usually only strength train twice a week, but if I am particularly motivated I get a third day in. One day is dedicated to upper body – assisted pull ups, bench press, wide grip lat pull down, shoulder press, bicep curls, and triceps. The second day is focused on legs and lower body – Hack squats, weighted walking lunges, one legged dead lifts, hamstring curls, and calve and shin exercises. I am certainly not lifting heavy for the most part, but I can already personally see a difference in my body, muscle mass and tone, and feel the difference in my strength and ability. My biggest concern when I started strength training was that it would shorten my muscles and affect my flexibility and ultimately my yoga practice. I have found that weight lifting has affected my practice, but, in a positive way. Keep reading to find out why I think these two activities actually complement each other nicely!

1. Increased upper body strength = chaturanga heaven!

I have always lacked in upper body strength which means my arm balance yoga practice is pretty weak. Since lifting weights and increasing my upper body strength I have noticed a huge difference in my arm balances and chaturanga. Truth time: I used to be able to do maybe 4 chaturangas in my sun salutation/vinyasa practice and would then take my knee’s down and move in to baby cobra. After doing this, my neck and shoulder muscles would be super tight as my muscles were all trying to compensate and tightening while I attempted to do this movement and I would often get tension headaches afterwards. Now, I can move smoothly (without grazing my thighs on the ground) through chaturanga into my upward dog at least 8 times without any repercussions! I mean, I’m not balancing in handstands in the middle of the room yet or anything… but who knows what will happen! ;)

2. My recovery time after strength training is shorter because I know the best way to stretch my muscles after working them

I always take time to stretch after strength training and cardio, especially my legs, as I naturally have very tight hamstrings. I’m the girl on the stretching mat moving into quad buster, uttanasana, low leg lunges, half pigeon, janu sirsasana, square pose, and thread the needle after leg day. It makes a huge difference in how sore I am the next day, and how easy it is to get on and off the toilet (…if you work your legs out, you know what I mean!!!) 

3. I am able to bring my mindfulness practice and breath work to any work out

When I am lifting weights I try to be very mindful and am constantly “checking in” with my body. Am I using the correct muscles? How is my alignment (aka form)? Does this feel right in my body? I have stopped trying a new exercise because it didn’t feel like a good fit with my body – not because it was too challenging, but because it didn’t feel good. Because of my Yoga practice I am also constantly aware of my breath while I am strength training, which I’ve learned is crucial when lifting weights.

These are just some of the ways I have found these two practices complement each other. I’d love to know if there are other ways people have found the two go  together! 

Yoga Pose: Warrior 1 Video Tutorial

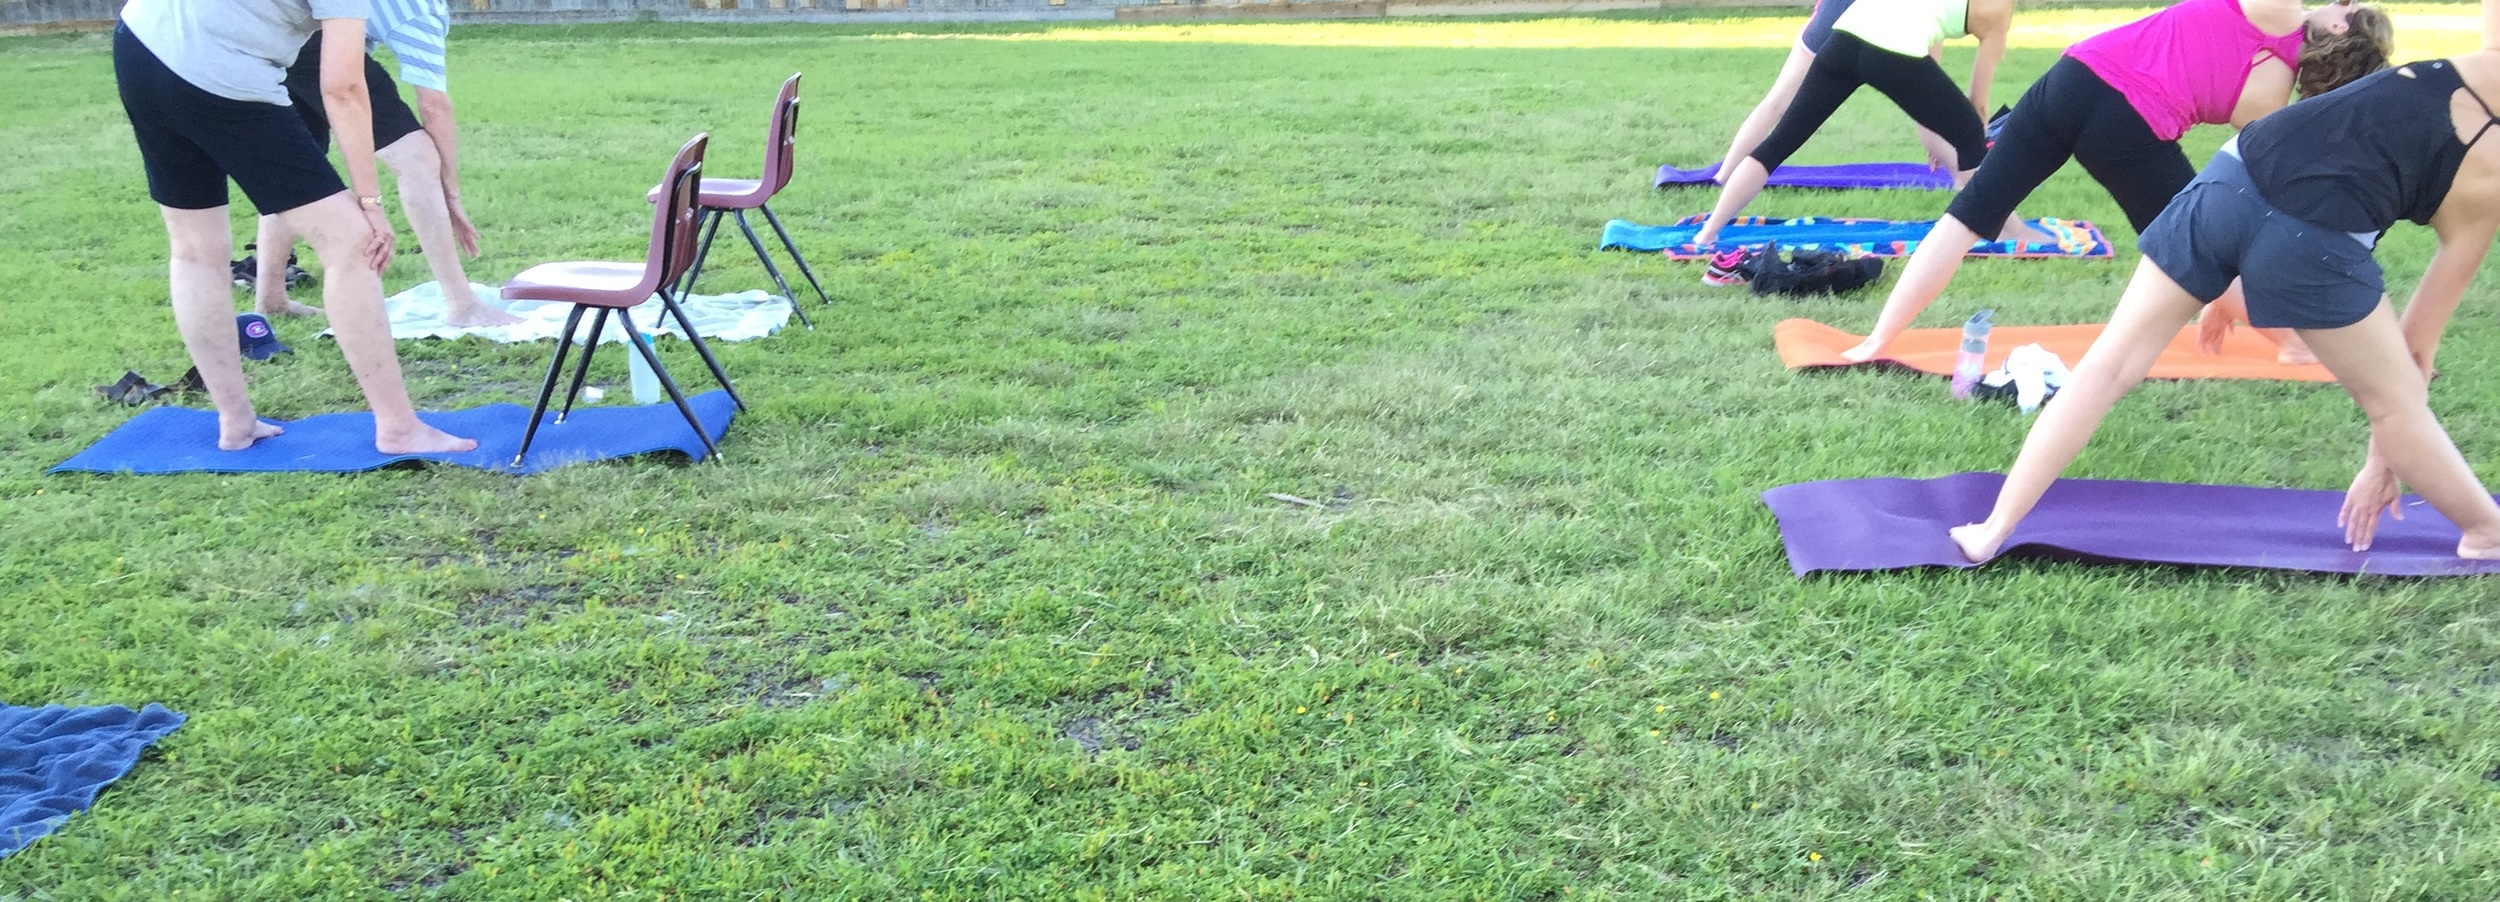
Warrior 1 - Virabhadrasana 1 - is a challenging and beautiful pose. It has many benefits as it opens the hips and shoulders while strengthening and stretching the legs. Overall, this pose tends to make me feel powerful - like a warrior! Keep reading to find out how to move in and out of this pose and make sure to watch the video at the end for some visual cues! 

Difficulty Level: Beginner - Intermediate

Step 1: Begin standing in tadasana at the front of your mat. Ground into the feet and legs so you feel solid and sturdy on the mat. With an exhale take a large step back - at least 3-4 feet - with one foot. 

Step 2: Ensure your back foot is angled in approximately 30-45 degrees, so the toes are moving toward the front of the mat. Make sure to keep your back heel pressing into the mat.

Step 3: Move your hips so that both hip bones are working at facing forward. They might not get totally square to the front of the mat (that is ok!!!) but they are moving in that direction. The ribcage is also open to the front of the mat. 

Step 4: Engage the core muscles and think about lifting the front of the body up, keeping the ribcage from flailing out. Also, think about lengthening down the back body and tail-bone.  

Step 5: With an inhale, bring your arms up, overhead, with your palms facing one another. Stretch through the fingertips so the arms stay strong. Even as the arms reach up, keep the shoulders down away from the ears. 

Step 6: With an exhale, bend deeply into the front knee, moving forward through the shin bone. Make sure the knee does not bend past the ankle as they should be lined up. If the knee is coming past the ankle, maybe try a wider stance.

Step 7: Breathe and feel.

Shoulder blades glide down the back body.

Chest lifts up.

Shift the gaze up to the finger tips. 

Press into the baby toe side of the back foot. 

Step 8: To come out, first release the arms and then step your back foot forward, bringing yourself back to tadasana. Try the pose again on the other side! 

Watch the video below for more helpful tips! 

My Favourite Restorative Yoga Poses using a Bolster

If you are a regular reader of my Blog (thanks so much BTW), or you follow me on Instagram (@sandrayogawpg), you may know that I made my very own Yoga Bolster to complement my restorative Yoga practice. Now, as much as I like the price tag for this home-made yoga bolster, and would recommend people try making their own to use for a simple home practice, the quality isn't quite the same as using an actual bolster (here’s a link to a great affordable one from Amazon Canada) However, I have been able to practice some of my favourite restorative yoga poses that require a bolster with my home-made one, and wanted to show you how you may use your bolster at home for some supported relaxation and opening of the body. 

For the US residents, here is a link to the bolster on Amazon US.

Note: As an Amazon Associate I earn from qualifying purchases.

The Pose: Chest Opener

What you do: Place your bolster horizontally on your mat and lay over it. Make sure the armpits are over the bolster so the shoulders can come to the floor. You can keep the legs straight, bend the knees, or even bring your legs in to a butterfly position. Tilt the head slightly so the chin is not tilting back. 

What it does: Provides a supported and passive opening into the chest. 

The Pose: Supported Belly Down Twist

What you do: Place the bolster on the mat so that you can sit with your Right hip touching the bolster. Turn your body so it faces over the bolster, bringing the twist in to the spine. Lay your body over the bolster (your whole torso should be supported by the bolster) and turn your head to one side . 

What it does: This supported twist is a great release into the back and side muscles and reportedly helps with digestion. 

The Pose: Supported Setu Bandha

What you do: Lay on top of the bolster so that your shoulders can reach the floor. Most of your back should still be supported by the bolster. Place a yoga block at the end of the mat for the feet so the legs and torso are one height, and the shoulders are lower, creating the opening into the chest. Tuck the chin slightly so the head is not tilting back and the neck stays long. 

What it does: Creates a supported chest and shoulder opening. Great alternative for someone who isn't able to do unsupported Setu Bandha for any reason. 

The Pose: Viparita Karani

What you do: Place the bolster horizontally either right at the wall or about an inch or so away from the wall. Sit toward the left side of the bolster and mat, so the sitting bones are touching the wall. Lie down on your side, and then roll over so the hips lay flat on the bolster and the sitting bones stay in contact with the wall. Note: The most difficult part of this pose is getting in to it, there will likely be a lot of wiggling and giggling - it's ok! You can also ditch the bolster all together and leave the hips on the mat. 

What it does: This is a supported inversion - your feet are above your head - changing the blood flow. This pose is especially great after a practice focused on standing postures as it rests and relaxes the legs. This is a posture that is generally done at the end of a practice. 

I hope you find these little tips and tricks with the bolster helpful! Let me know if you try any and how much you love them :) 

Real Life: Yoga Practice, Not Yoga Perfect

This post was supposed to be my favourite restorative poses to do with the Yoga Bolster, however, I didn't get the photo's all done for the poses... nobody's perfect right??? 

Let's talk about that for a minute. As a Yoga Instructor there are some real, and perhaps imagined, expectations that are placed on me, either by students, other teachers or myself. I got to thinking about this when I found myself in my car shouting at another driver (all windows closed of course)  and feeling slightly road rage-y. I thought, I am a Yoga Teacher, I should really be better than this. This is not in line with Yoga values. Well guess what?! The very next day I'm pretty sure the entire situation played over again - shouting in my car, feeling bad about it, scolding myself for not being better. This is just one example of an expectation that I have put on myself, but what about expectations others may have?? Some examples that I have heard of or have experienced include:

"I thought I saw you in your car, but the person I saw was eating chips so I thought it couldn't have been you"

(This happened to another teacher I know....Just so you know, I eat chips and love them)

"You must be vegetarian" 

(I eat all types of meat) 

"You must be pretty calm and zen all the time"

(Yells at people in the car on the reg')

So, why am I telling you my dirty little meat eating, road rage secret? To let you know that it's a Yoga Practice, not Yoga Perfect. You don't have to get it all right, all the time or even some of the time, and do not expect your teacher to. Do not put a teacher on a pedestal - that leads to all sorts of problems - they are human just as you are, so when they are at the front of the class talking about presence, or gratitude, maybe it's as much of a reminder for themselves as it is for the class. It doesn't mean someone is a "bad yogi" - at least in my humble opinion, it means they are human. It certainly shouldn't mean that you think less of them as a teacher or student (or that they should think less of themselves). So, next time I find myself shouting at another driver, I will continue to practice mindfulness by recognizing the behaviour and feeling and then maybe, someday, I may be able to drive around Winnipeg only raising my voice to sing loudly in my car. 

Have you ever had an experience where you felt there were expectations placed on you, by others or yourself? Do you have expectations of your yoga teachers?