bolster

My Favourite Restorative Yoga Poses using a Bolster

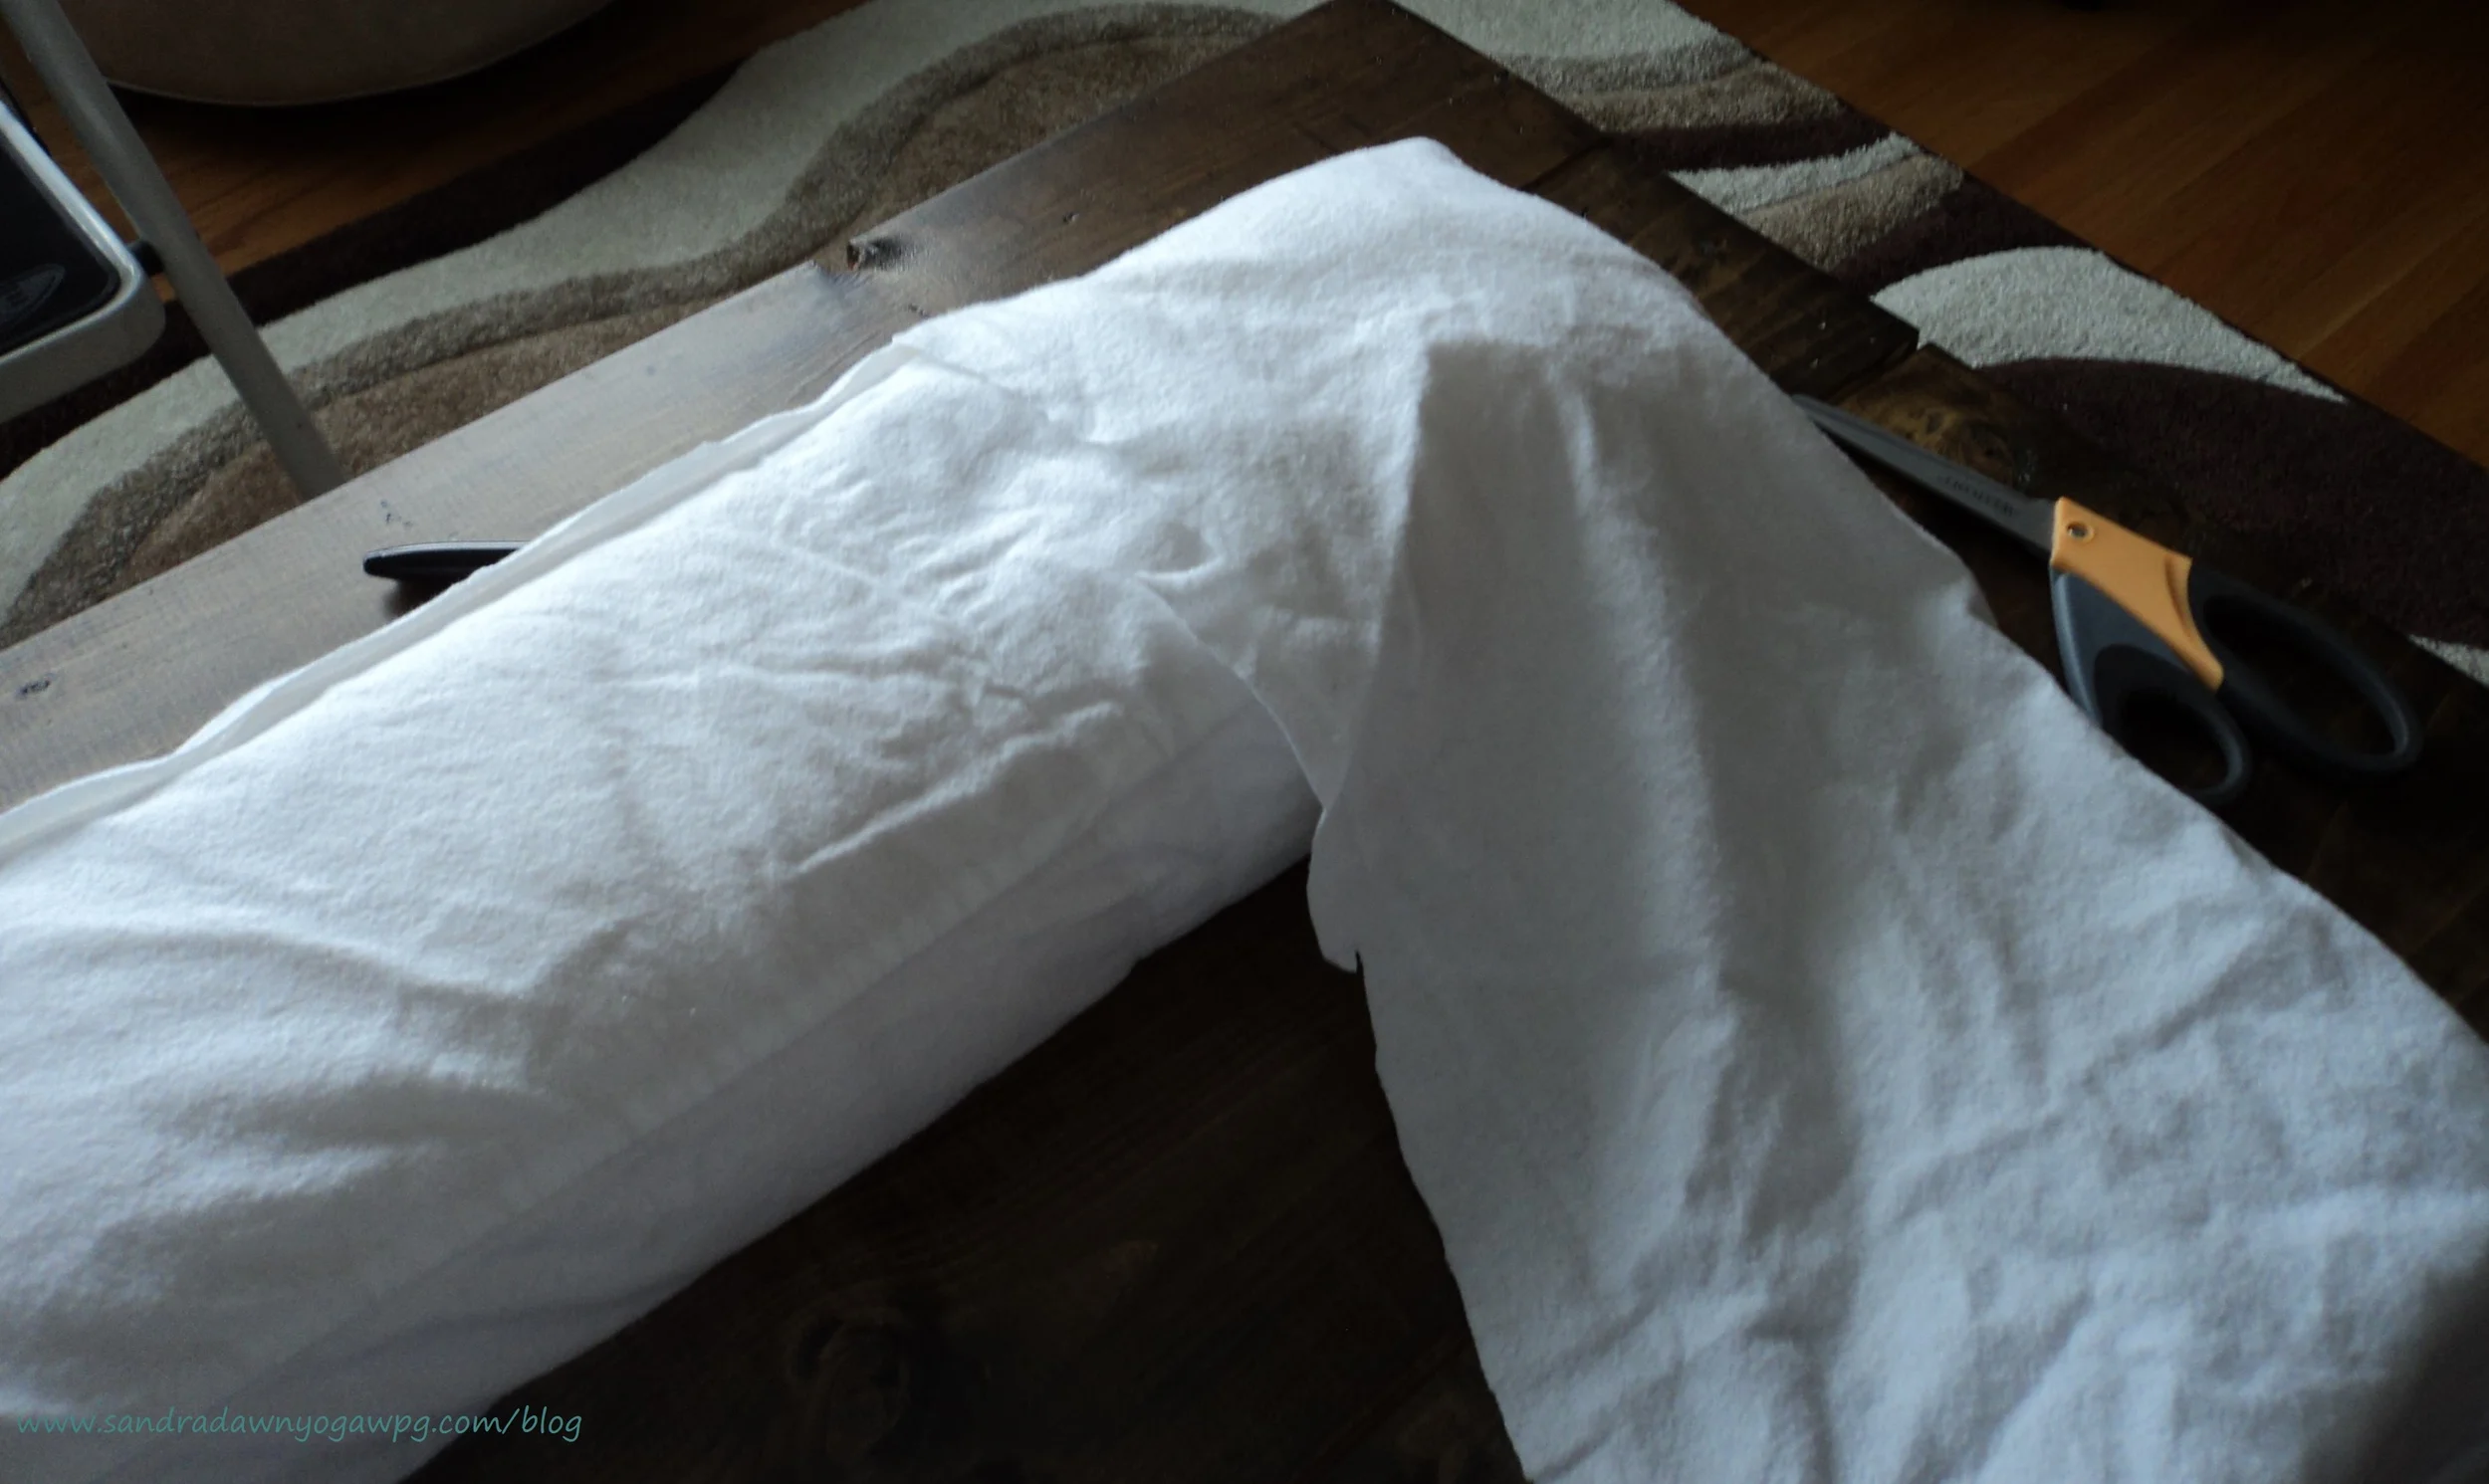
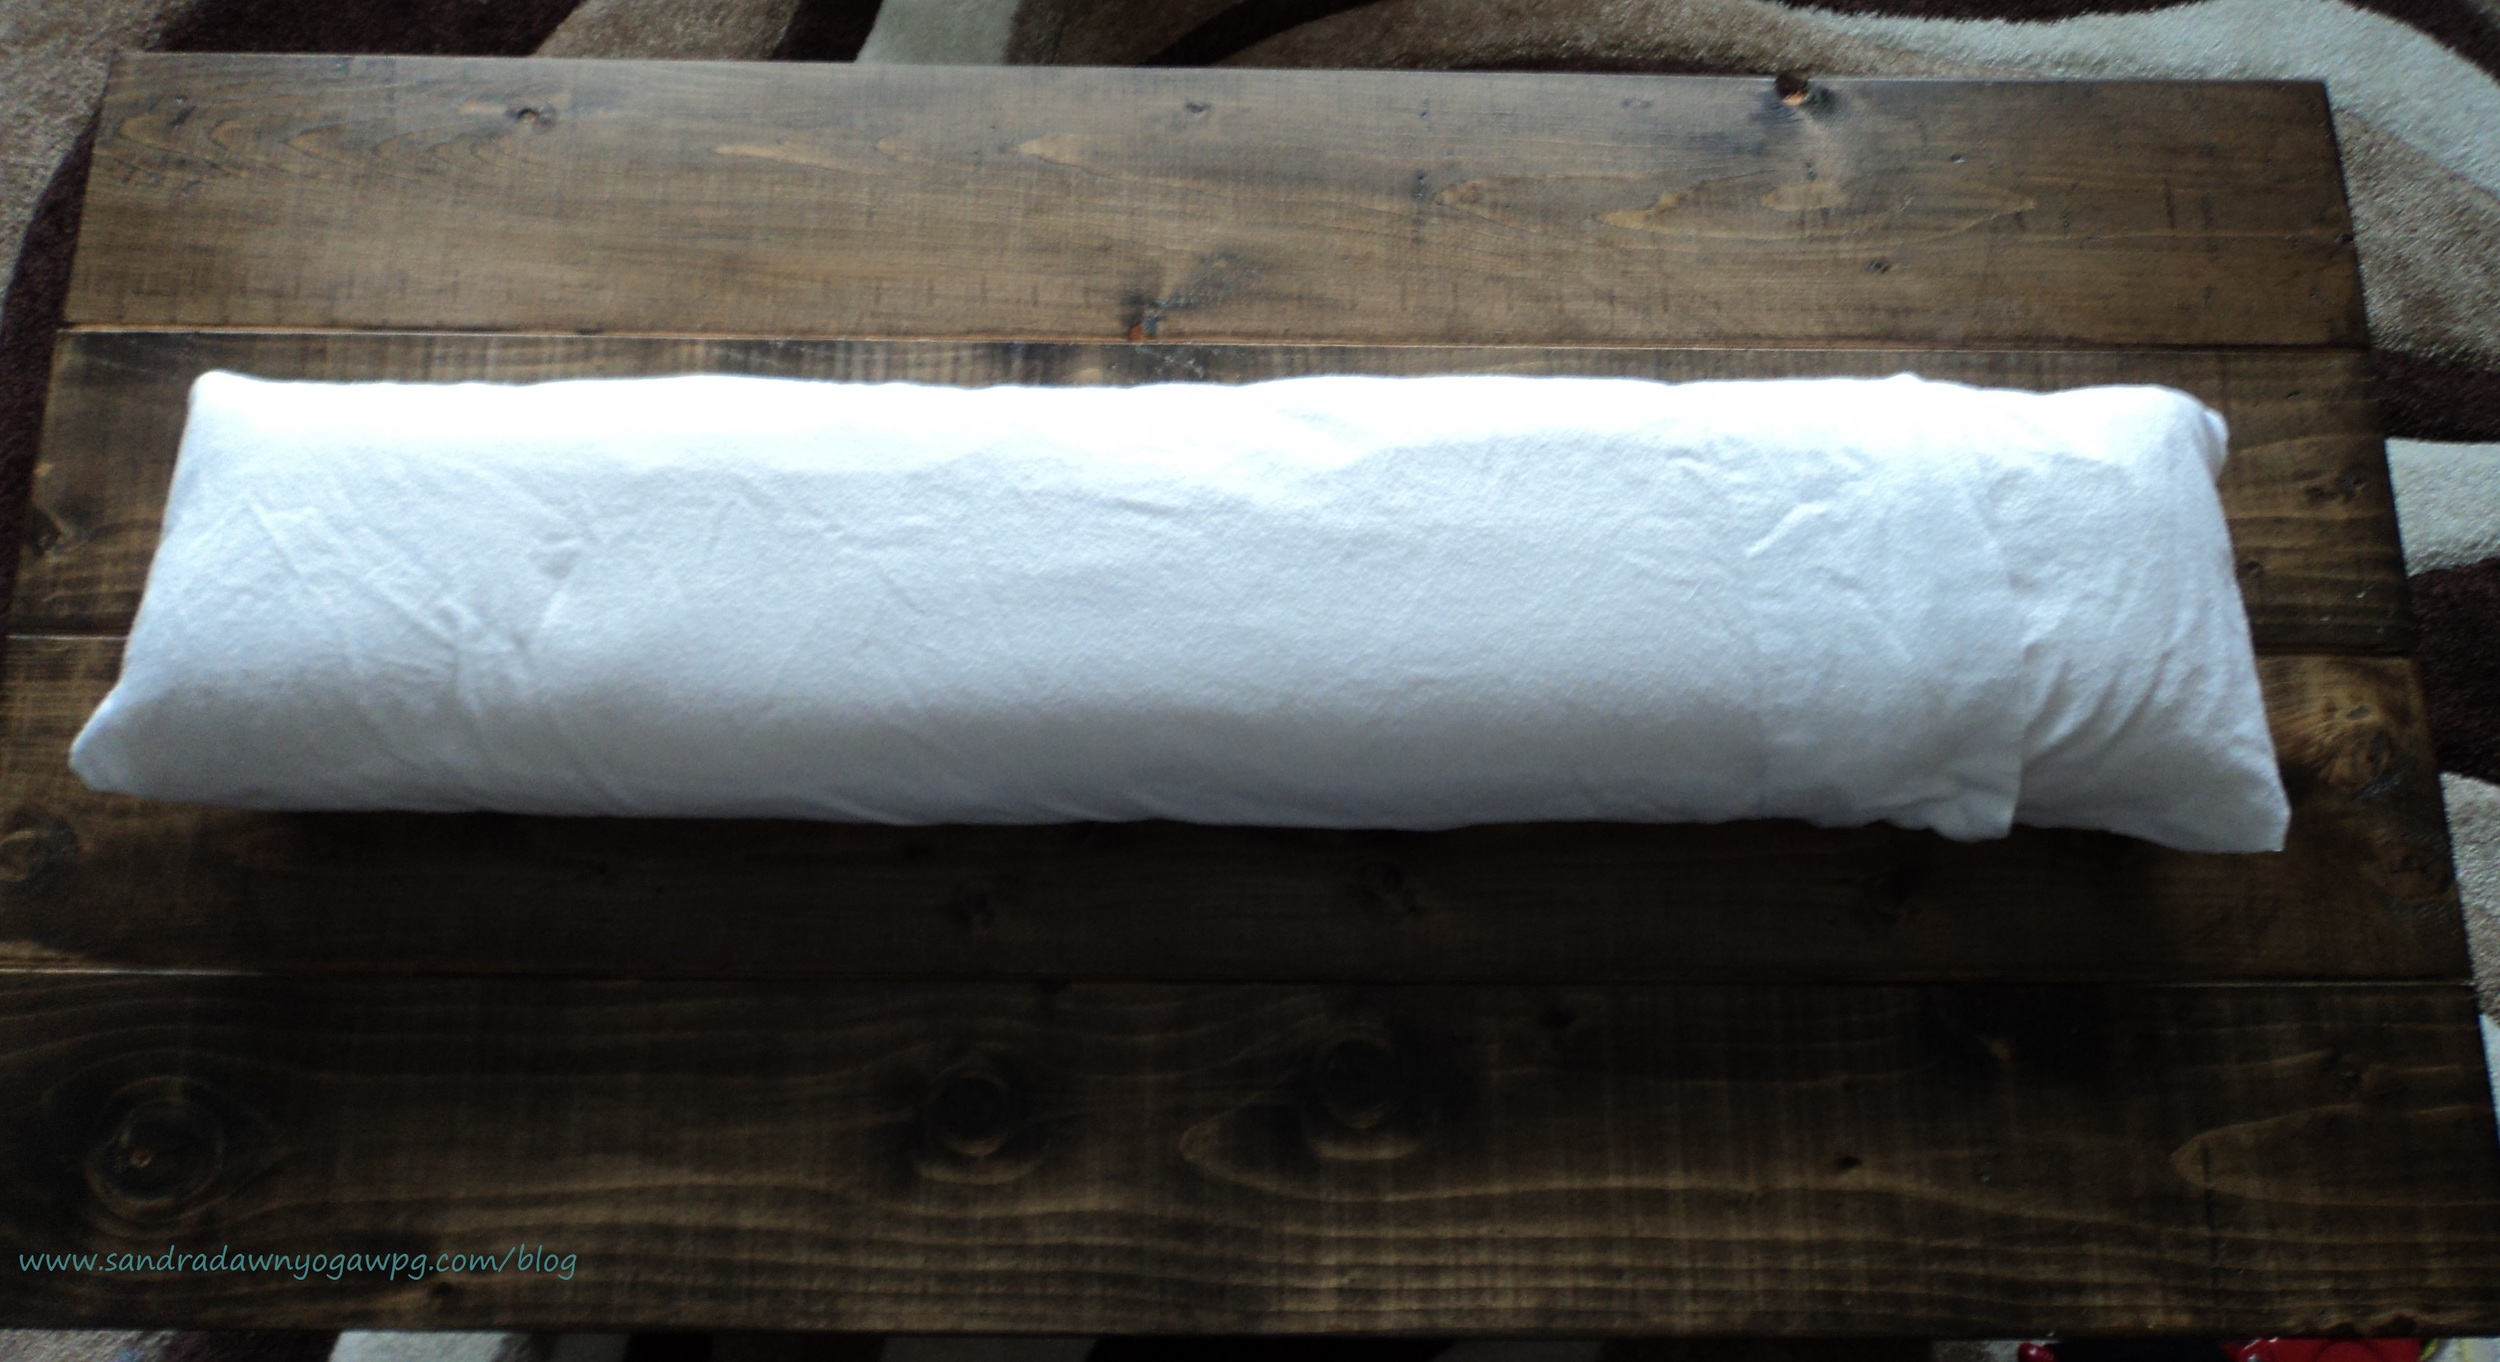
If you are a regular reader of my Blog (thanks so much BTW), or you follow me on Instagram (@sandrayogawpg), you may know that I made my very own Yoga Bolster to complement my restorative Yoga practice. Now, as much as I like the price tag for this home-made yoga bolster, and would recommend people try making their own to use for a simple home practice, the quality isn't quite the same as using an actual bolster (here’s a link to a great affordable one from Amazon Canada) However, I have been able to practice some of my favourite restorative yoga poses that require a bolster with my home-made one, and wanted to show you how you may use your bolster at home for some supported relaxation and opening of the body. 

For the US residents, here is a link to the bolster on Amazon US.

Note: As an Amazon Associate I earn from qualifying purchases.

The Pose: Chest Opener

What you do: Place your bolster horizontally on your mat and lay over it. Make sure the armpits are over the bolster so the shoulders can come to the floor. You can keep the legs straight, bend the knees, or even bring your legs in to a butterfly position. Tilt the head slightly so the chin is not tilting back. 

What it does: Provides a supported and passive opening into the chest. 

The Pose: Supported Belly Down Twist

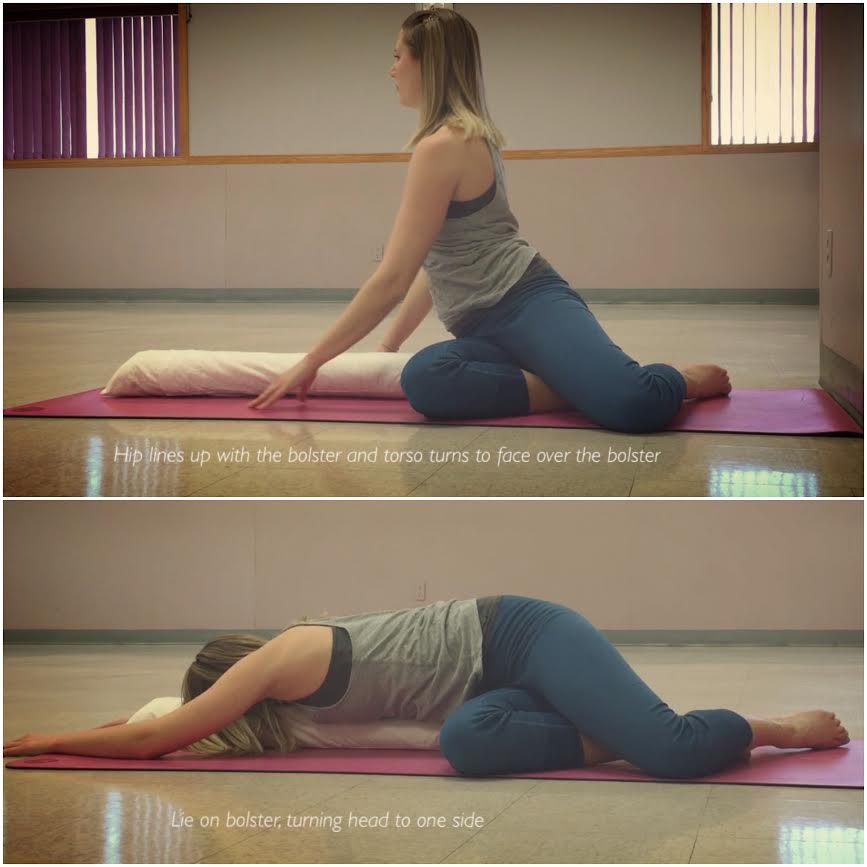
What you do: Place the bolster on the mat so that you can sit with your Right hip touching the bolster. Turn your body so it faces over the bolster, bringing the twist in to the spine. Lay your body over the bolster (your whole torso should be supported by the bolster) and turn your head to one side . 

What it does: This supported twist is a great release into the back and side muscles and reportedly helps with digestion. 

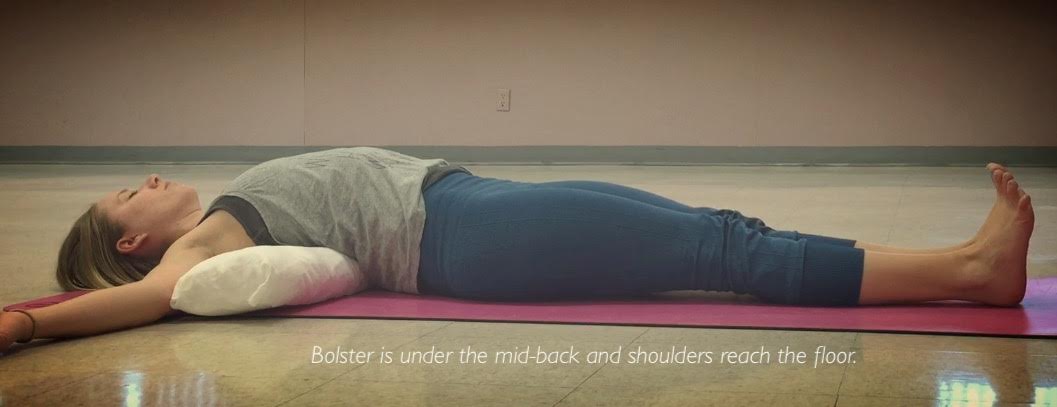
The Pose: Supported Setu Bandha

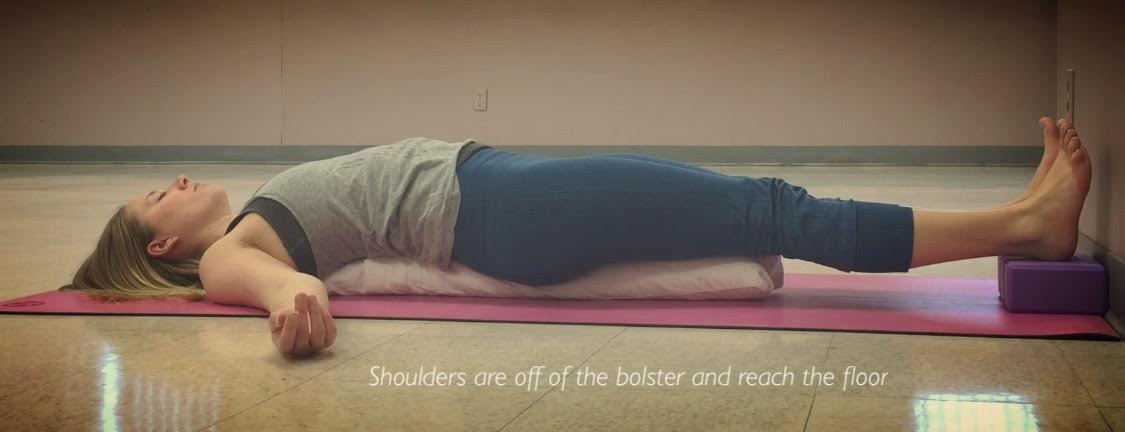
What you do: Lay on top of the bolster so that your shoulders can reach the floor. Most of your back should still be supported by the bolster. Place a yoga block at the end of the mat for the feet so the legs and torso are one height, and the shoulders are lower, creating the opening into the chest. Tuck the chin slightly so the head is not tilting back and the neck stays long. 

What it does: Creates a supported chest and shoulder opening. Great alternative for someone who isn't able to do unsupported Setu Bandha for any reason. 

The Pose: Viparita Karani

What you do: Place the bolster horizontally either right at the wall or about an inch or so away from the wall. Sit toward the left side of the bolster and mat, so the sitting bones are touching the wall. Lie down on your side, and then roll over so the hips lay flat on the bolster and the sitting bones stay in contact with the wall. Note: The most difficult part of this pose is getting in to it, there will likely be a lot of wiggling and giggling - it's ok! You can also ditch the bolster all together and leave the hips on the mat. 

What it does: This is a supported inversion - your feet are above your head - changing the blood flow. This pose is especially great after a practice focused on standing postures as it rests and relaxes the legs. This is a posture that is generally done at the end of a practice. 

I hope you find these little tips and tricks with the bolster helpful! Let me know if you try any and how much you love them :) 

Yoga Props: How to Make Your own Yoga Bolster - No Sewing Required!

Yoga Bolsters are one of my favourite Yoga Props to use. When I arrive to a class and the teacher asks us to get a bolster, I know some lovely restorative poses are coming up and I'm about to feel realllllyyyy relaxed ;) Yoga Bolsters can range in price and quality of course, so I wanted to try my hand at making my own before investing my dollars in a more pricey one ($60 - $100). This home-made bolster cost me about $25.00 to make in total, and I'm actually quite impressed with how it turned out. It's firm, but not hard, and it's a good length and depth for my body shape. The entire process took me less than an hour - and that included a small crisis with the liquid stitch, which I ended up throwing away and not using at all. Keep reading to find out how you can make your very own Yoga Bolster - no sewing required! 

What You Will Need: 

IGNORE THE LIQUID STITCH! :) 

IGNORE THE LIQUID STITCH! :) 

1 Foam Pool Noodle - $1.00 at Dollarama

1 Flannelette* Pillow Case - Free, as I used an extra one I had at home 

1 Bag of Cotton Batting

1 Package of Adhesive Velcro - $1.50 each (I bought two to be safe)

Packing Tape

Scissors

Sharpie marker

Measuring Tape

*You can use a cotton or other type of pillow case if that's what you have. 

Step 1: 

Measure the pool noodle and mark it with the sharpie in the middle. Fold the noodle in half and use scissors to cut it. You want your two pieces to be as equal in length as possible. Use your packing tape to secure the two pieces together side by side. 

Step 2: 

Take your cotton batting out the bag and fold it in half once so you have a double layer. Place the pool noodles on the far end of one side (not like in the picture) and roll them up in the blanket. 

Step 3: 

Secure the cotton with packing tape. 

(I also placed a long strip of tape over the rough edge of cotton so it was smooth - sorry for the lack of photo)

Step 4:

Place your bolster in the pillow case, making sure you push it all the way into one corner of the case. 

Pull the fabric tight around the bolster and cut the pillow case, leaving enough room to add the velcro to attach the pillow case together. Put the piece of pillow case that you cut off aside as we will use it later. 

Step 5: 

Press the adhesive velcro strip on to the outside  piece first, then pull it tight and mark where your attaching piece of velcro needs to go. You want the material to stay in place once velcro-ed. 

Step 6: 

Use the piece of pillow case that you cut off and place it over the bolster so that one corder of the bolster is in the one corner of the pillowcase. Once again, pull the fabric tightly and make your cut. 

Step 7: 

Back of bolster

Back of bolster

I was able to simply tuck the fabric in to the velcro-ed piece and because it was flannelette, it stayed in place. You can always use adhesive velcro on this part as well if you use another type of pillow case. 

And here is the finished product!!!! 

It's really quite simple - I literally made this process up as I went along, which is why some of the photo's are missing details - and took less than an hour to complete. You can make a variety of changes to make this bolster suit your needs - add another piece of pool noodle to make it wider, wrap an old towel around the pool noodles before you roll it in the cotton batting to make it thicker etc. 

Check back in a couple weeks to see some of my favourite restorative poses to do with this Yoga Prop. I'd also LOVE to know if you make one of these yourself, so be sure to let me know by leaving a comment below, sending me your pictures or tagging me in them on Instagram @sandrayogawpg.

Check out Yoga Design Lab for some premade yoga props and be sure to look at their infinity and curve mats, specifically made for taller yogi’s!

As a Yoga Design lab affiliate I earn a commission on eligible sales.