restorative

Yoga Props: How to Make Your own Yoga Bolster - No Sewing Required!

Yoga Bolsters are one of my favourite Yoga Props to use. When I arrive to a class and the teacher asks us to get a bolster, I know some lovely restorative poses are coming up and I'm about to feel realllllyyyy relaxed ;) Yoga Bolsters can range in price and quality of course, so I wanted to try my hand at making my own before investing my dollars in a more pricey one ($60 - $100). This home-made bolster cost me about $25.00 to make in total, and I'm actually quite impressed with how it turned out. It's firm, but not hard, and it's a good length and depth for my body shape. The entire process took me less than an hour - and that included a small crisis with the liquid stitch, which I ended up throwing away and not using at all. Keep reading to find out how you can make your very own Yoga Bolster - no sewing required! 

What You Will Need: 

IGNORE THE LIQUID STITCH! :) 

IGNORE THE LIQUID STITCH! :) 

1 Foam Pool Noodle - $1.00 at Dollarama

1 Flannelette* Pillow Case - Free, as I used an extra one I had at home 

1 Bag of Cotton Batting

1 Package of Adhesive Velcro - $1.50 each (I bought two to be safe)

Packing Tape

Scissors

Sharpie marker

Measuring Tape

*You can use a cotton or other type of pillow case if that's what you have. 

Step 1: 

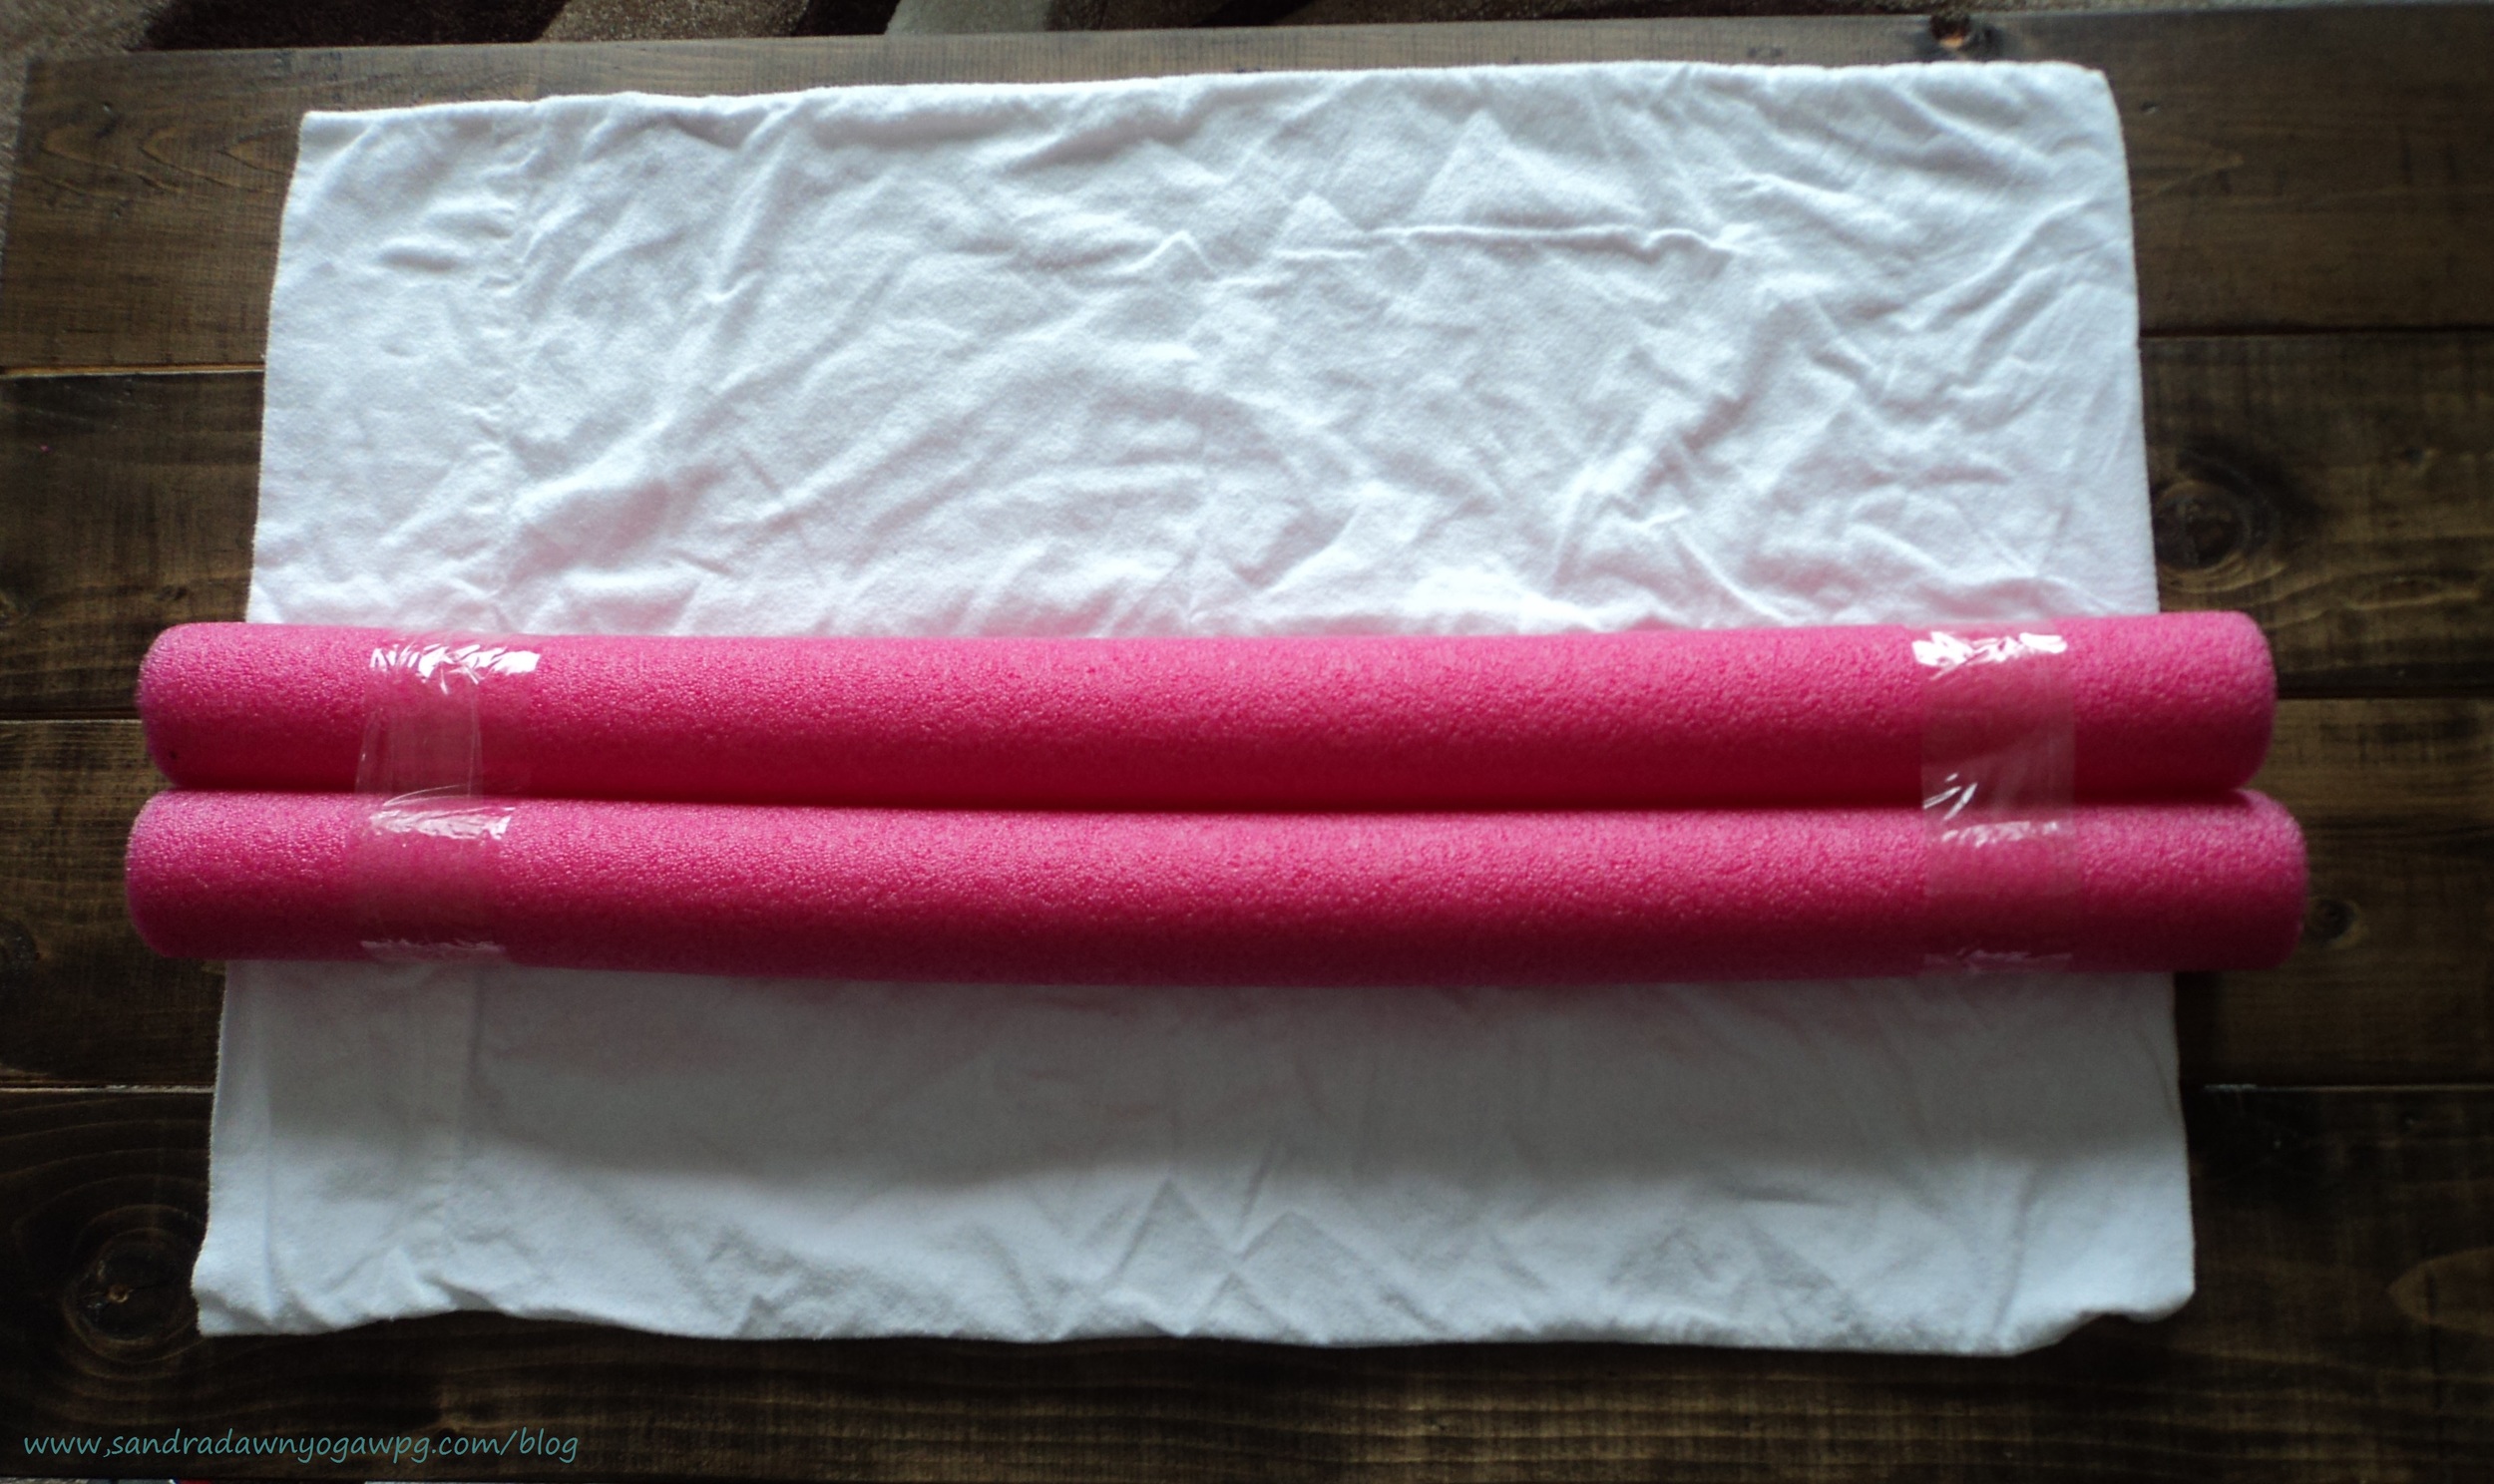
Measure the pool noodle and mark it with the sharpie in the middle. Fold the noodle in half and use scissors to cut it. You want your two pieces to be as equal in length as possible. Use your packing tape to secure the two pieces together side by side. 
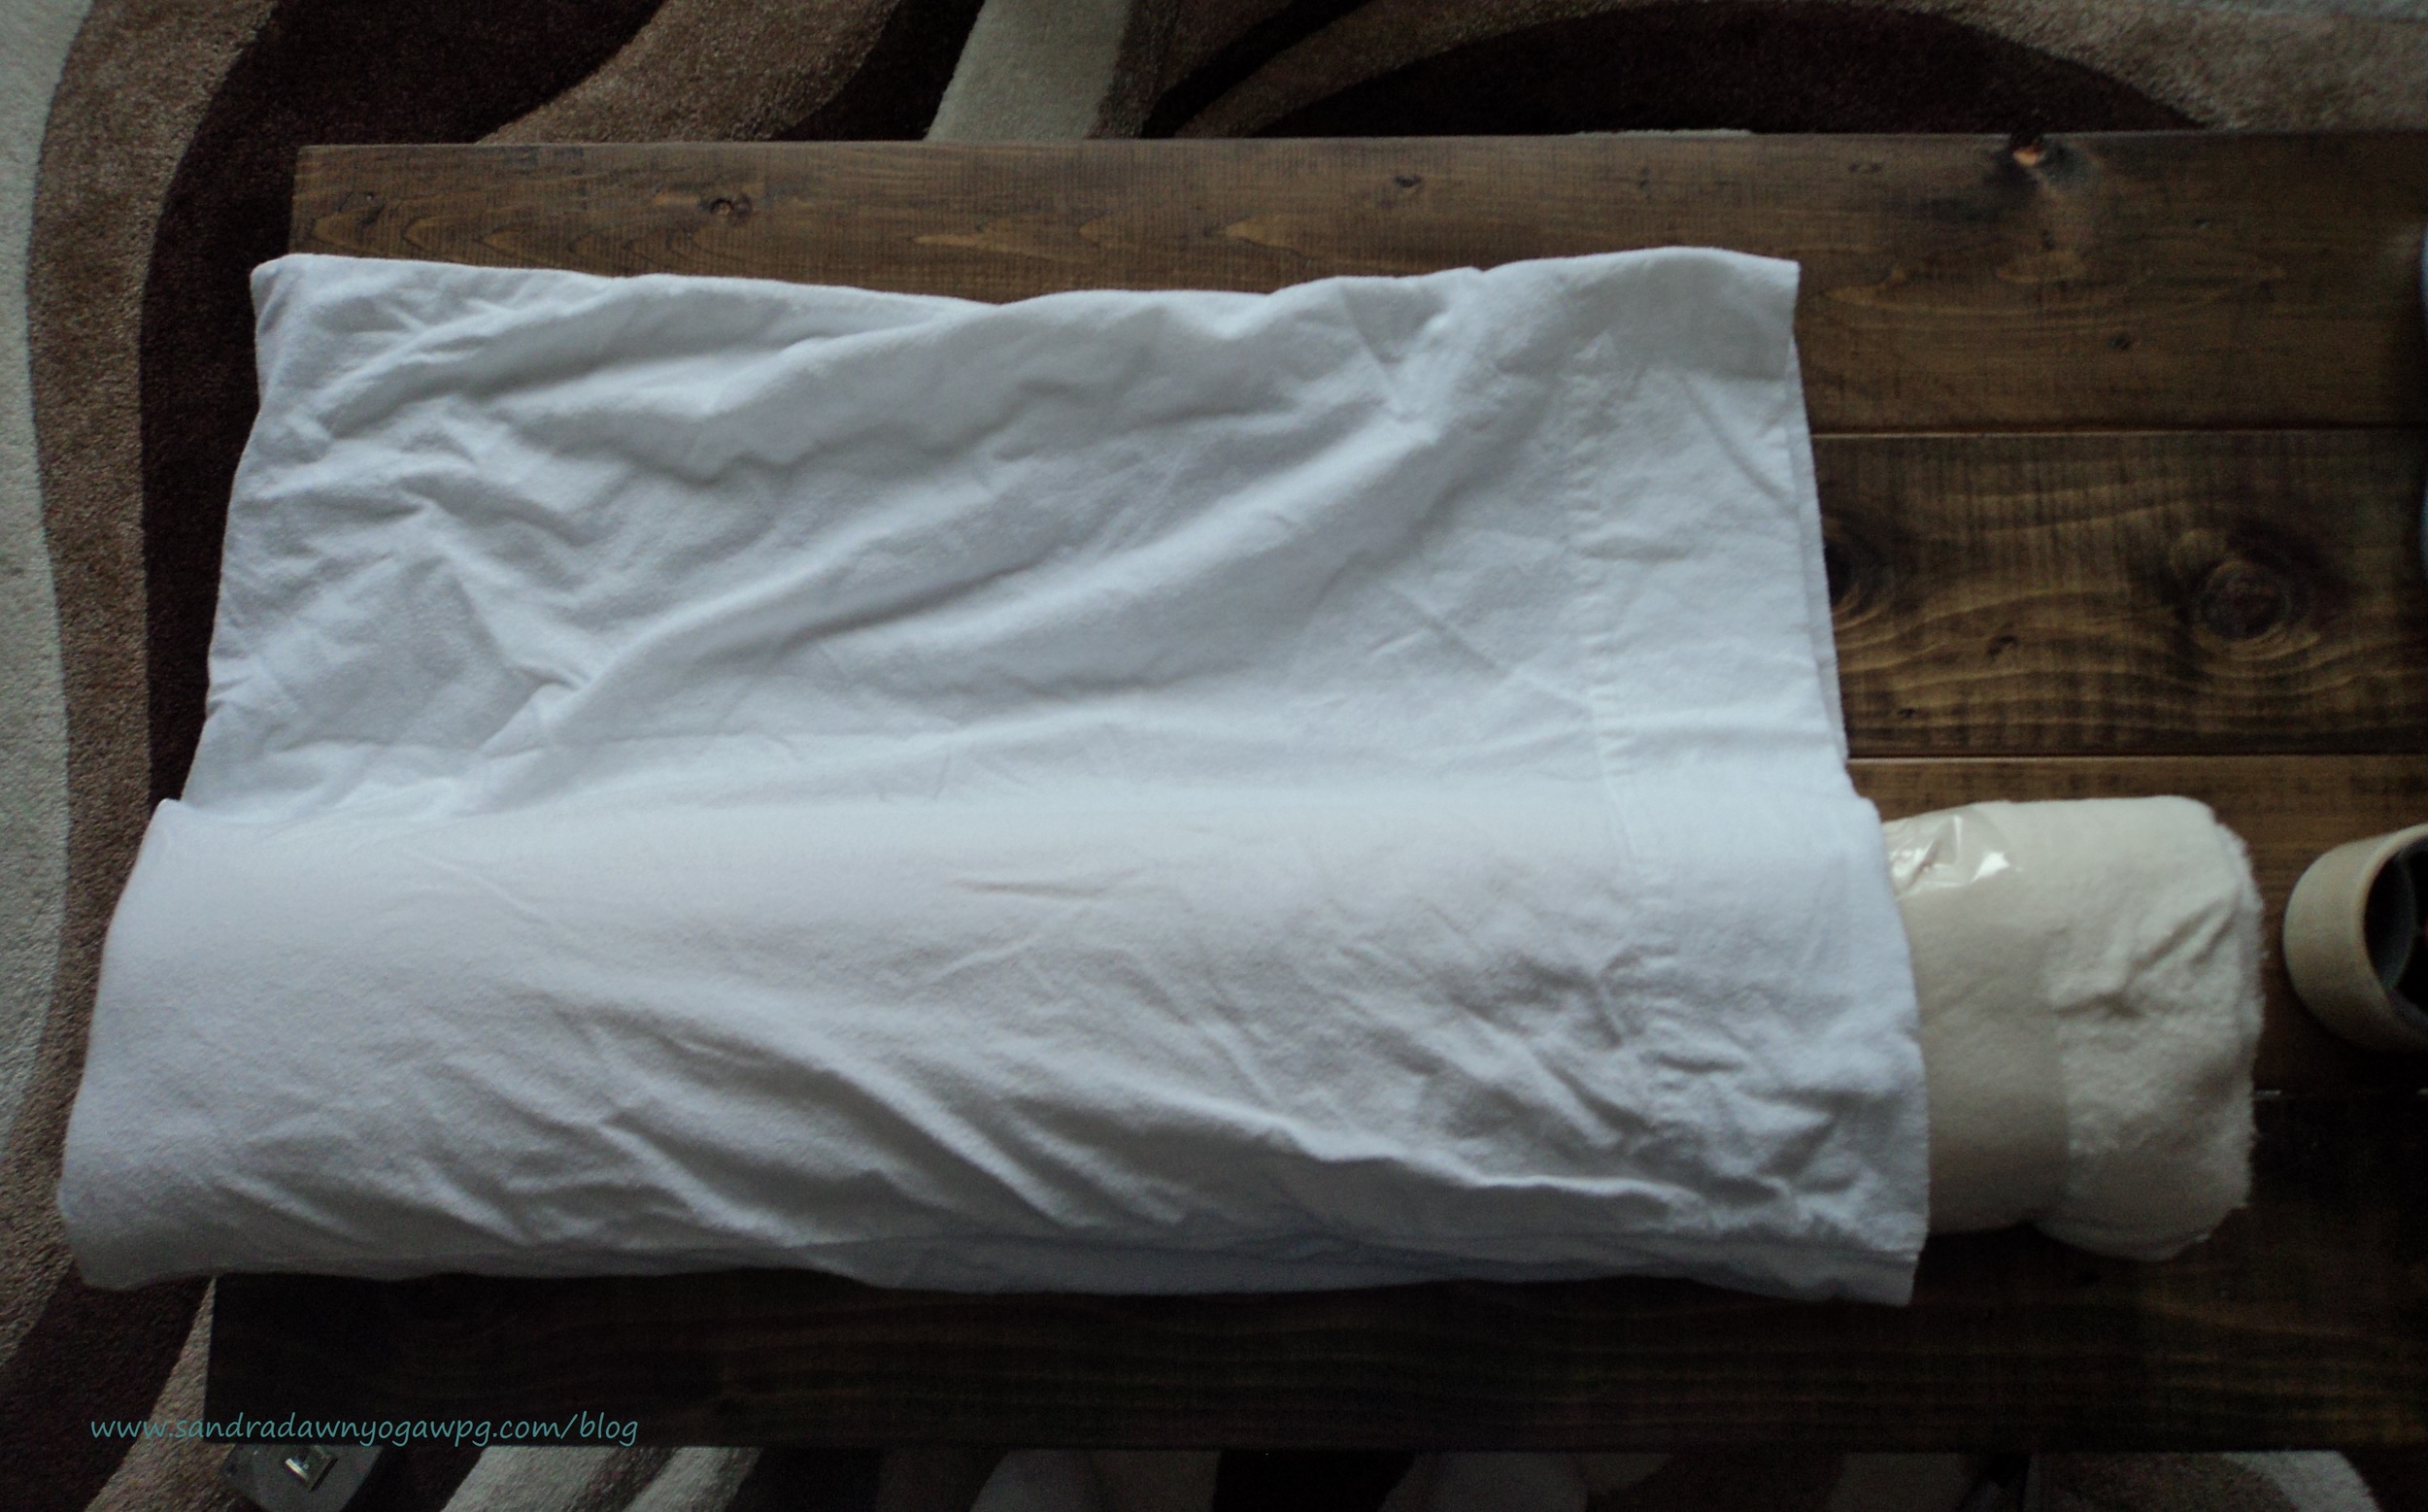
Step 2: 

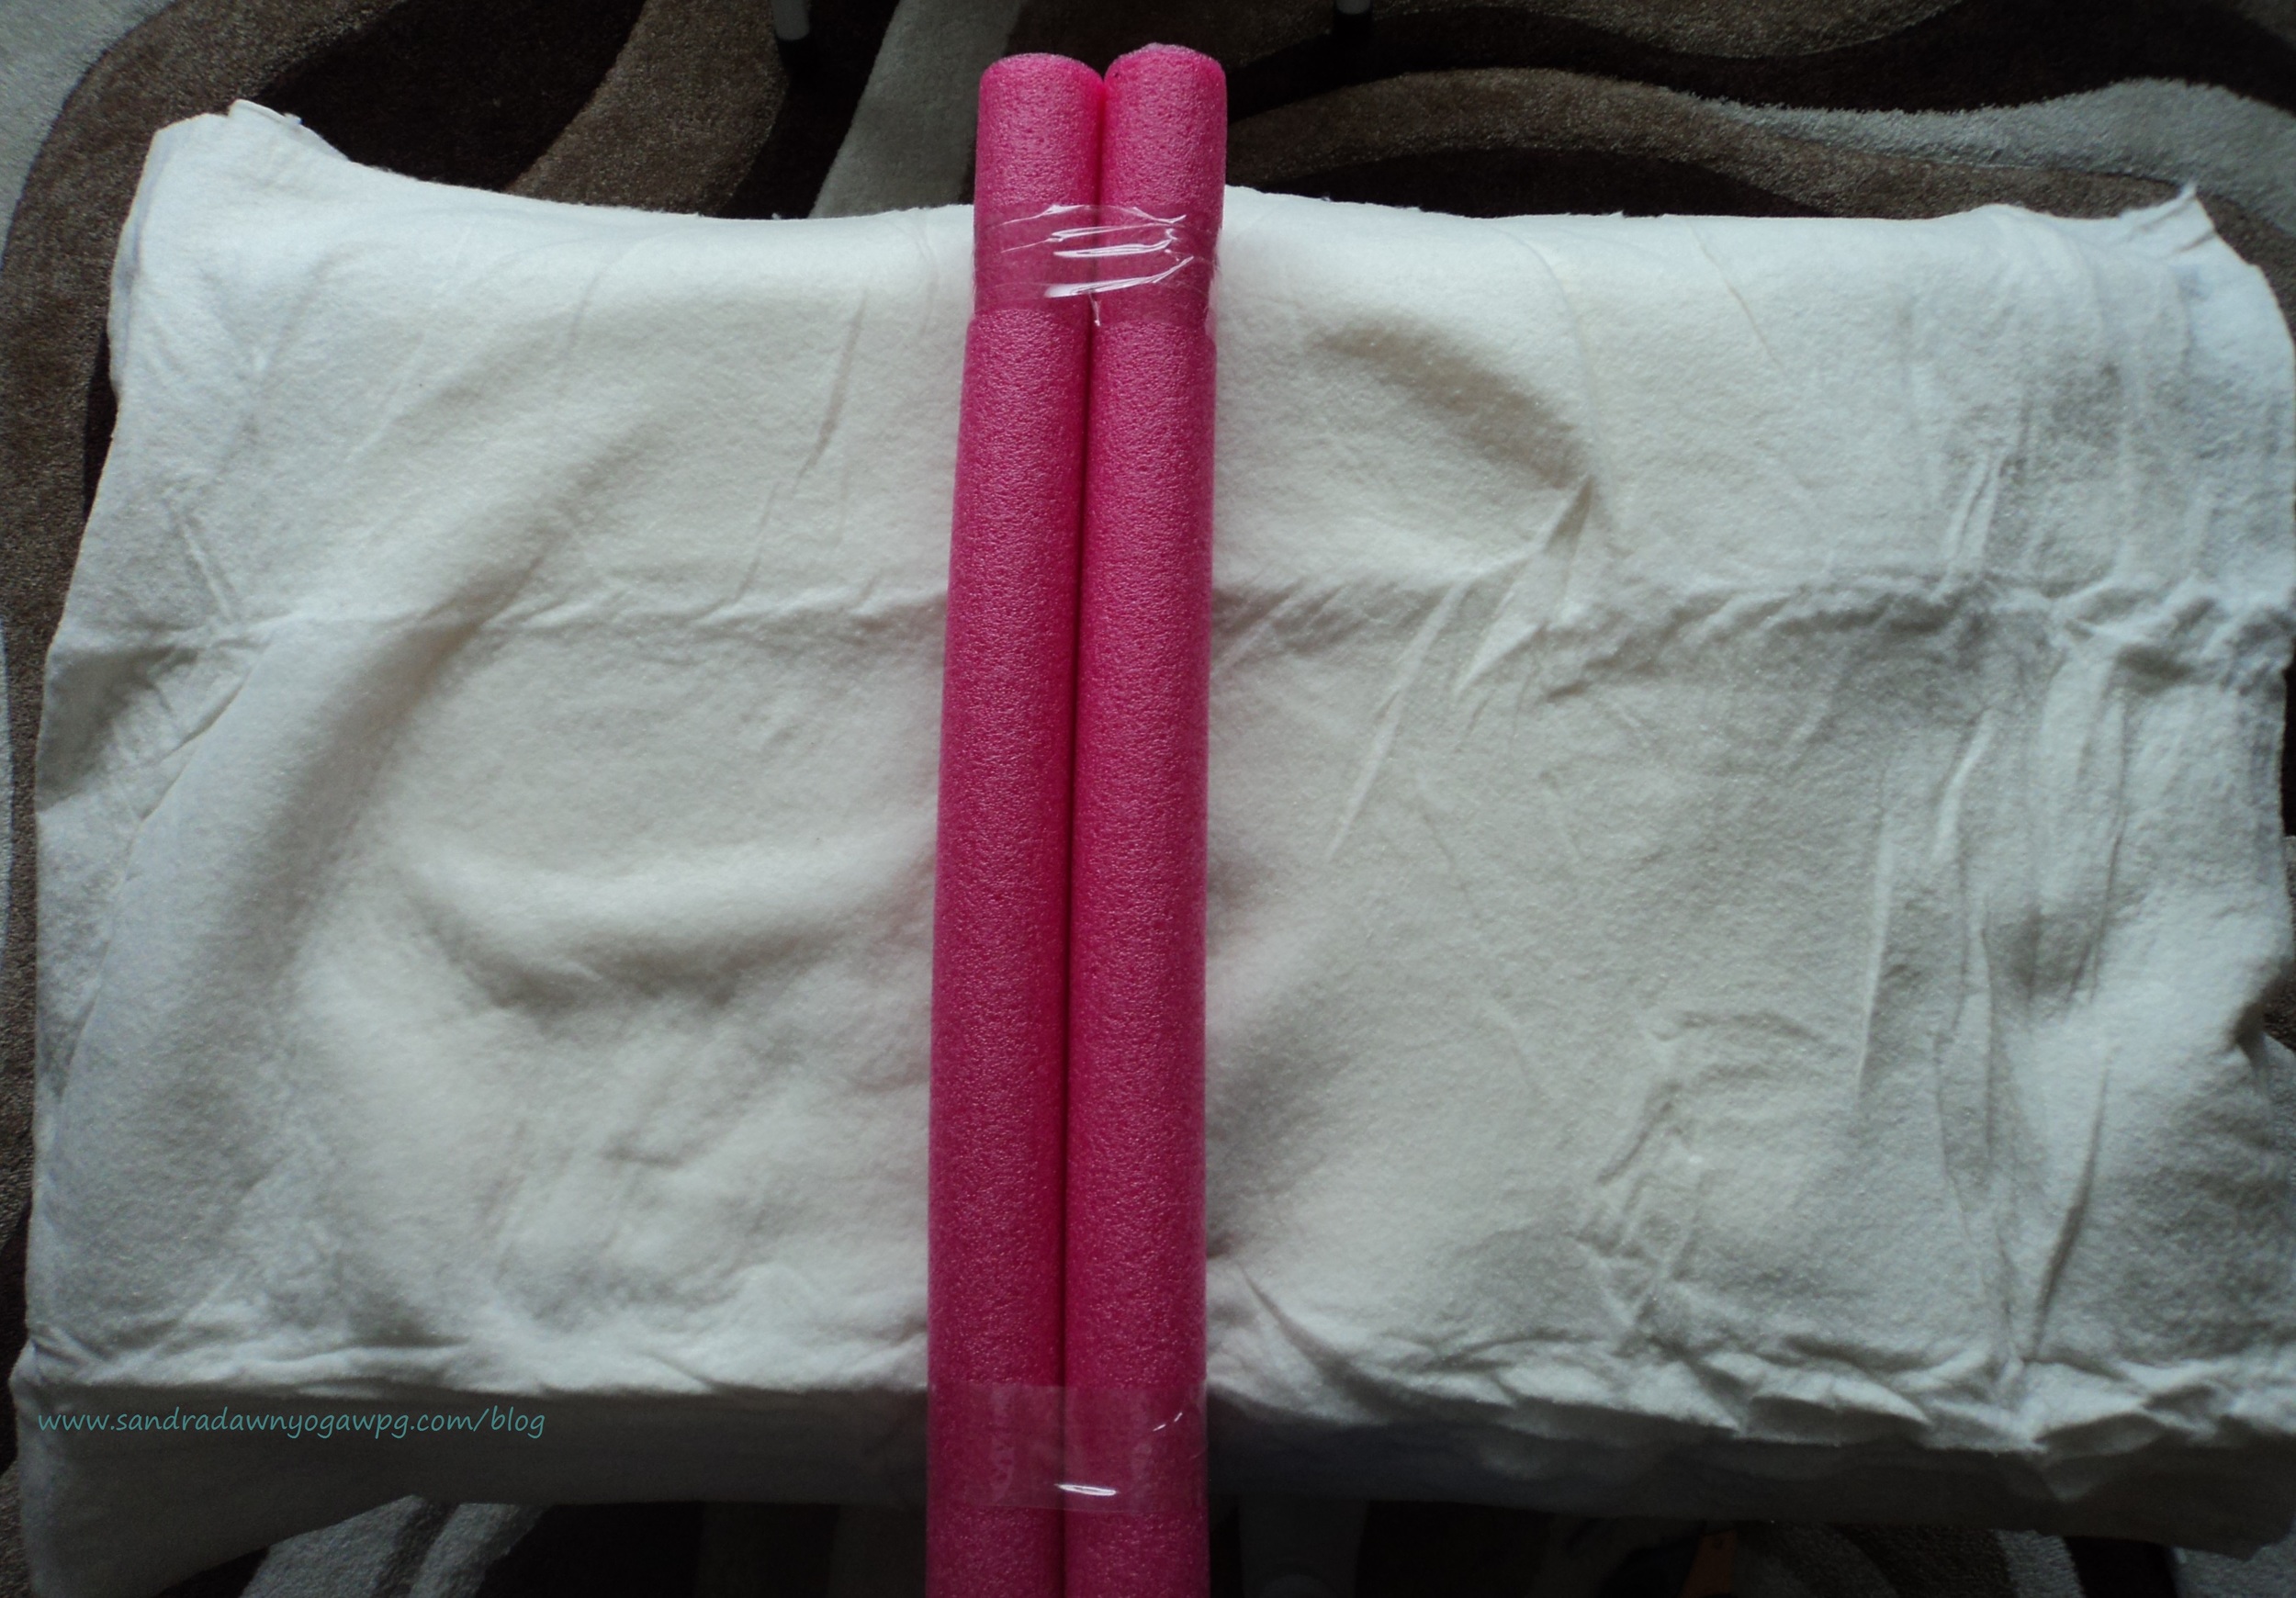
Take your cotton batting out the bag and fold it in half once so you have a double layer. Place the pool noodles on the far end of one side (not like in the picture) and roll them up in the blanket. 
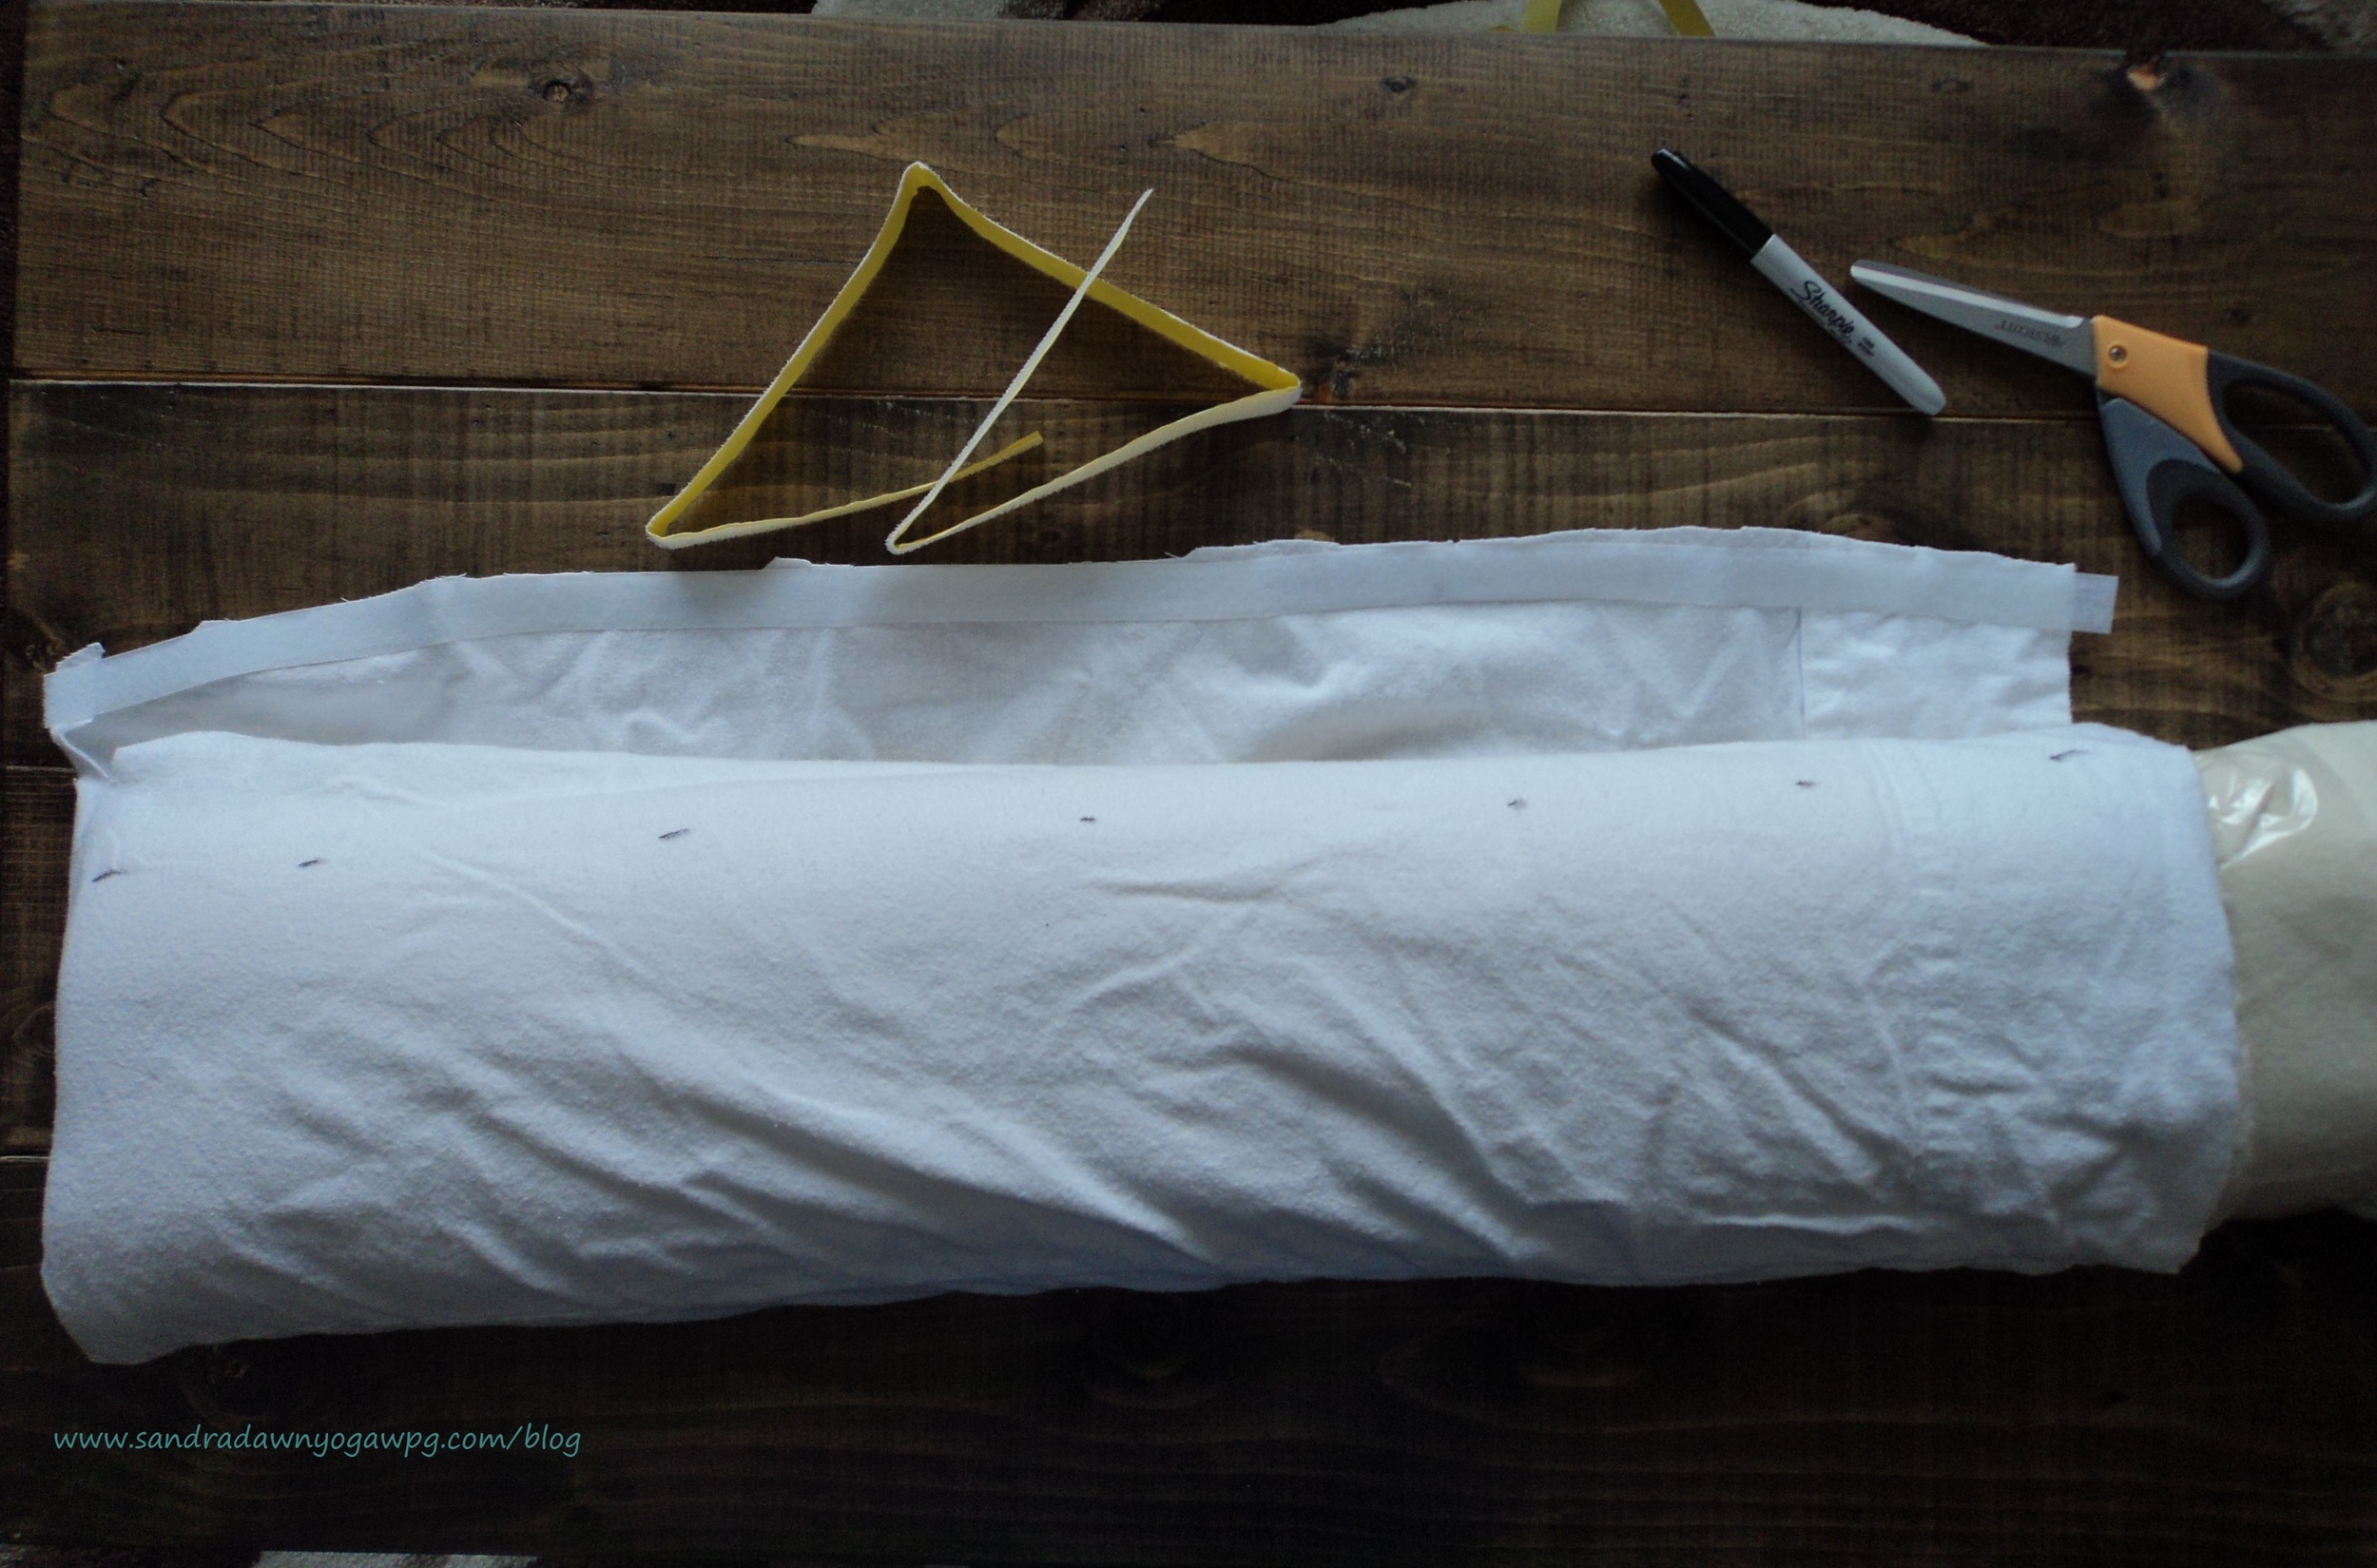
Step 3: 

Secure the cotton with packing tape. 

(I also placed a long strip of tape over the rough edge of cotton so it was smooth - sorry for the lack of photo)
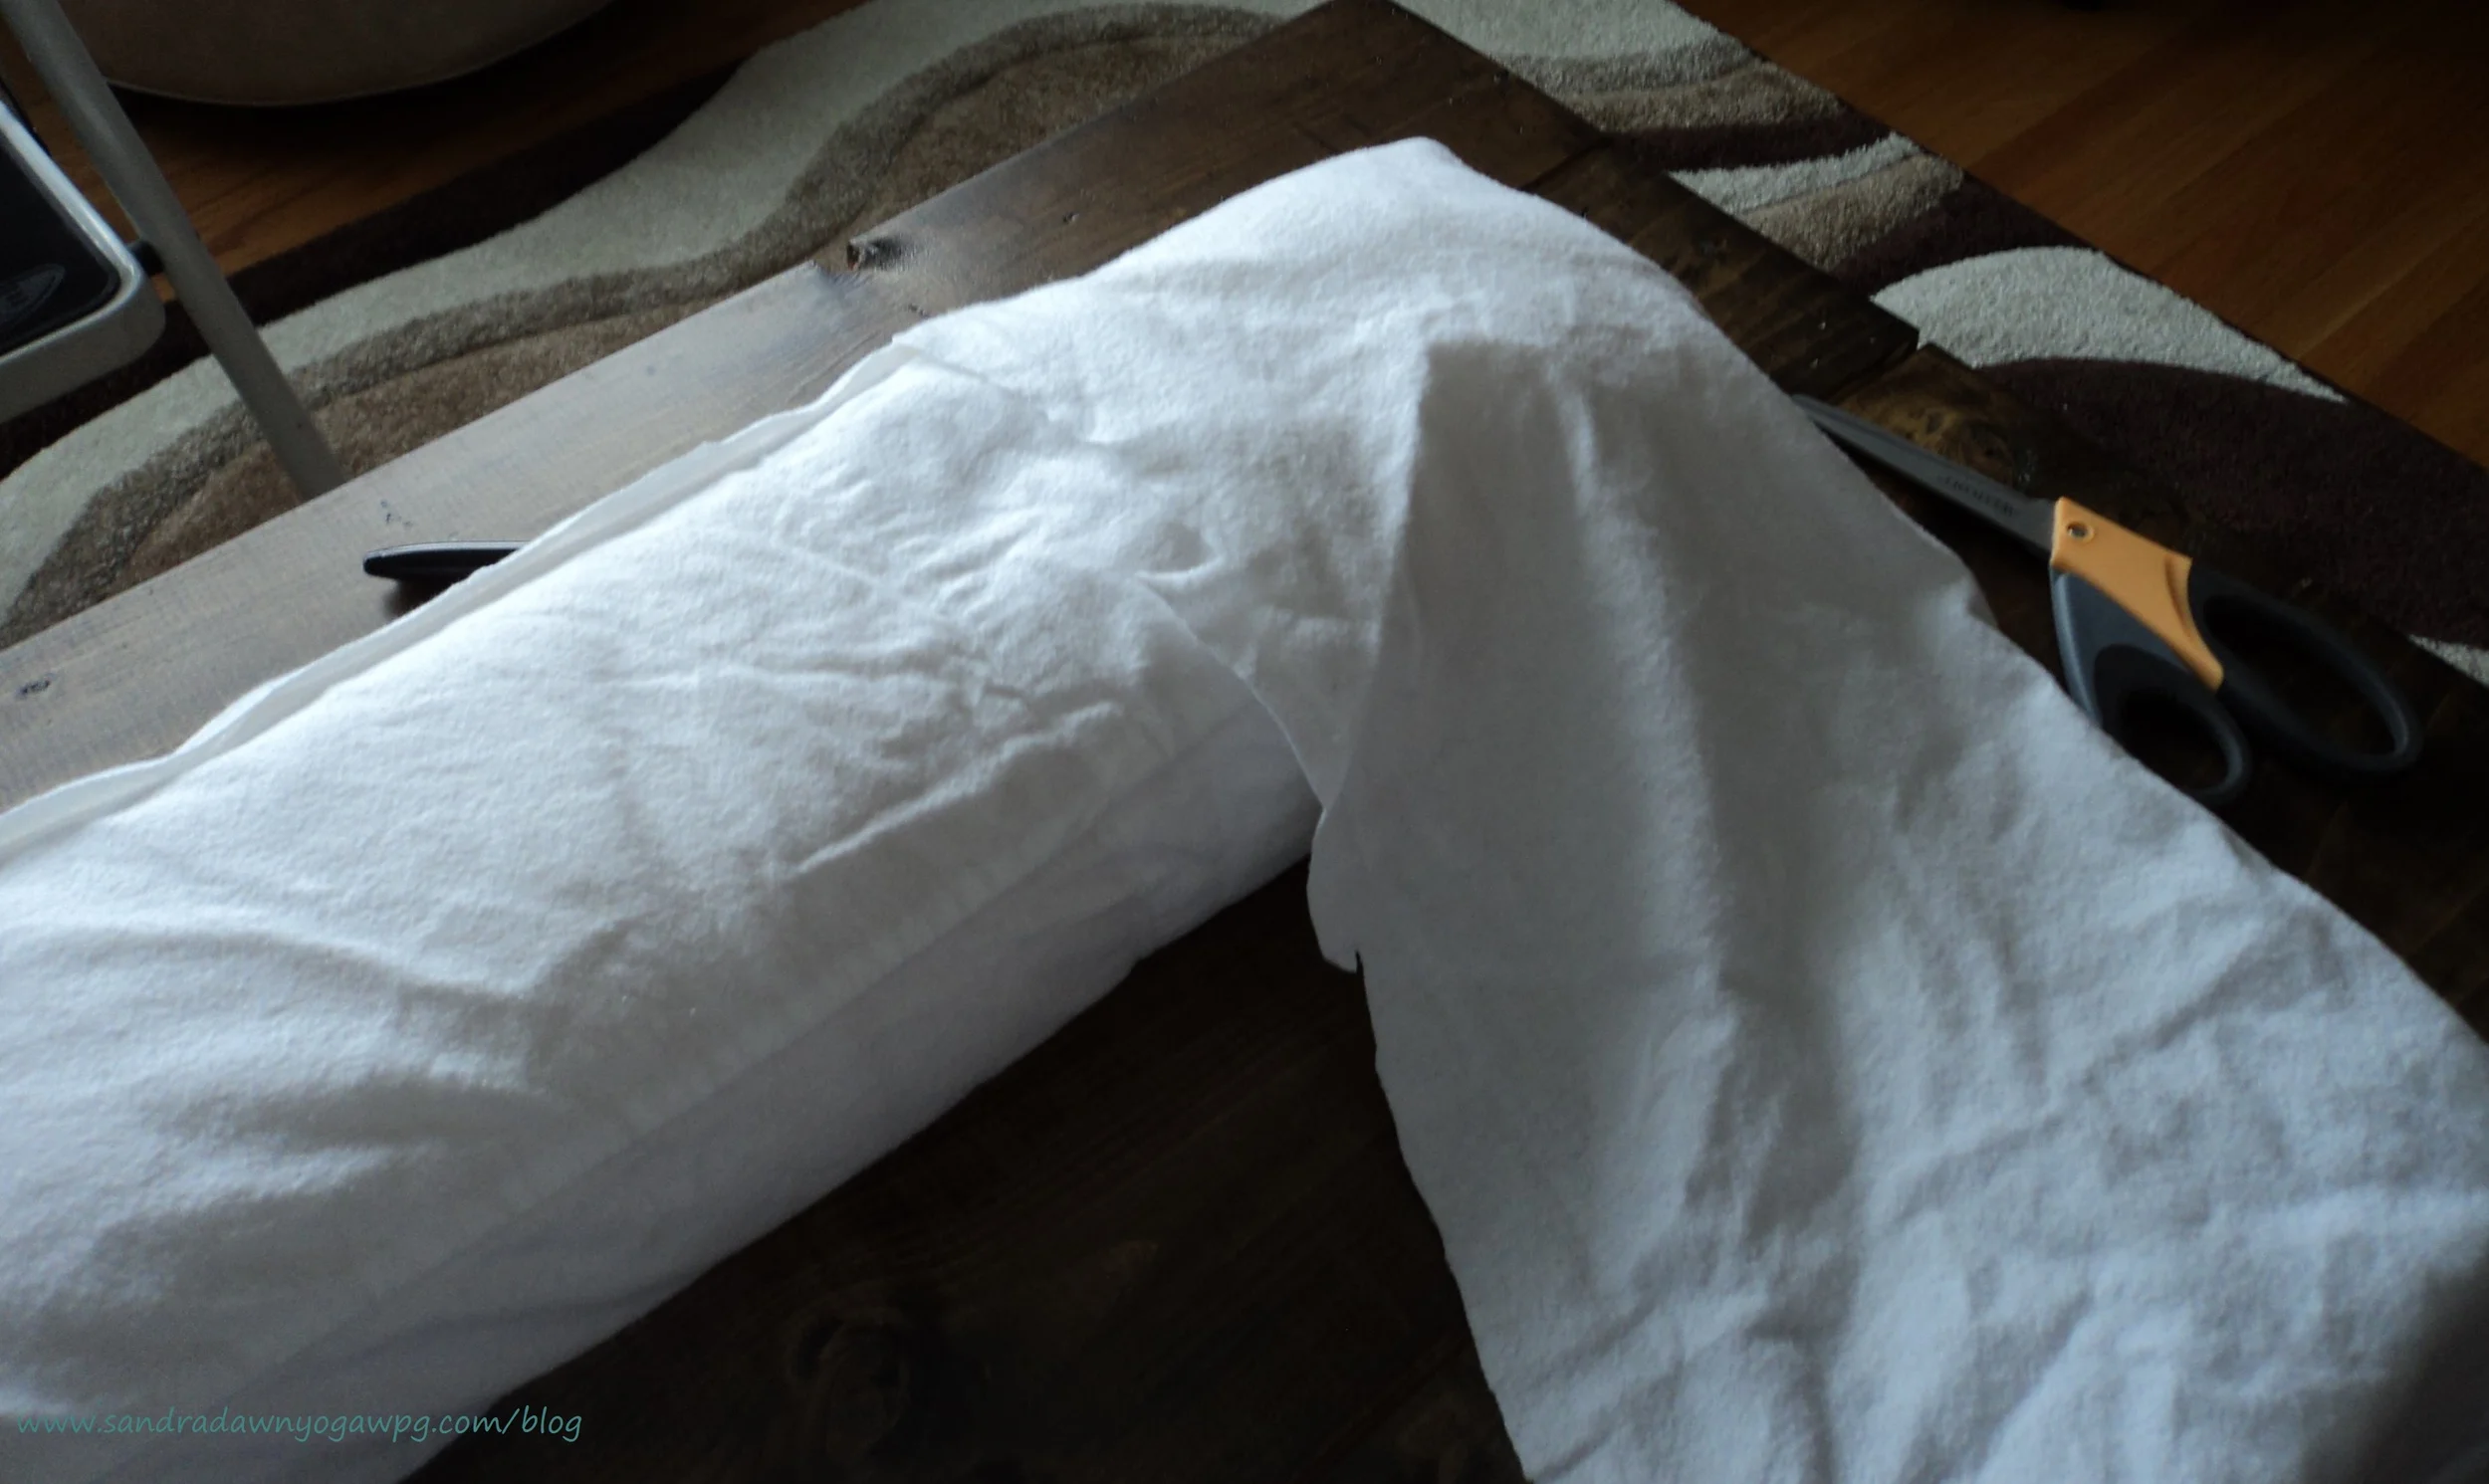
Step 4:

Place your bolster in the pillow case, making sure you push it all the way into one corner of the case. 

Pull the fabric tight around the bolster and cut the pillow case, leaving enough room to add the velcro to attach the pillow case together. Put the piece of pillow case that you cut off aside as we will use it later. 

Step 5: 

Press the adhesive velcro strip on to the outside  piece first, then pull it tight and mark where your attaching piece of velcro needs to go. You want the material to stay in place once velcro-ed. 

Step 6: 

Use the piece of pillow case that you cut off and place it over the bolster so that one corder of the bolster is in the one corner of the pillowcase. Once again, pull the fabric tightly and make your cut. 

Step 7: 

Back of bolster

Back of bolster

I was able to simply tuck the fabric in to the velcro-ed piece and because it was flannelette, it stayed in place. You can always use adhesive velcro on this part as well if you use another type of pillow case. 

And here is the finished product!!!! 

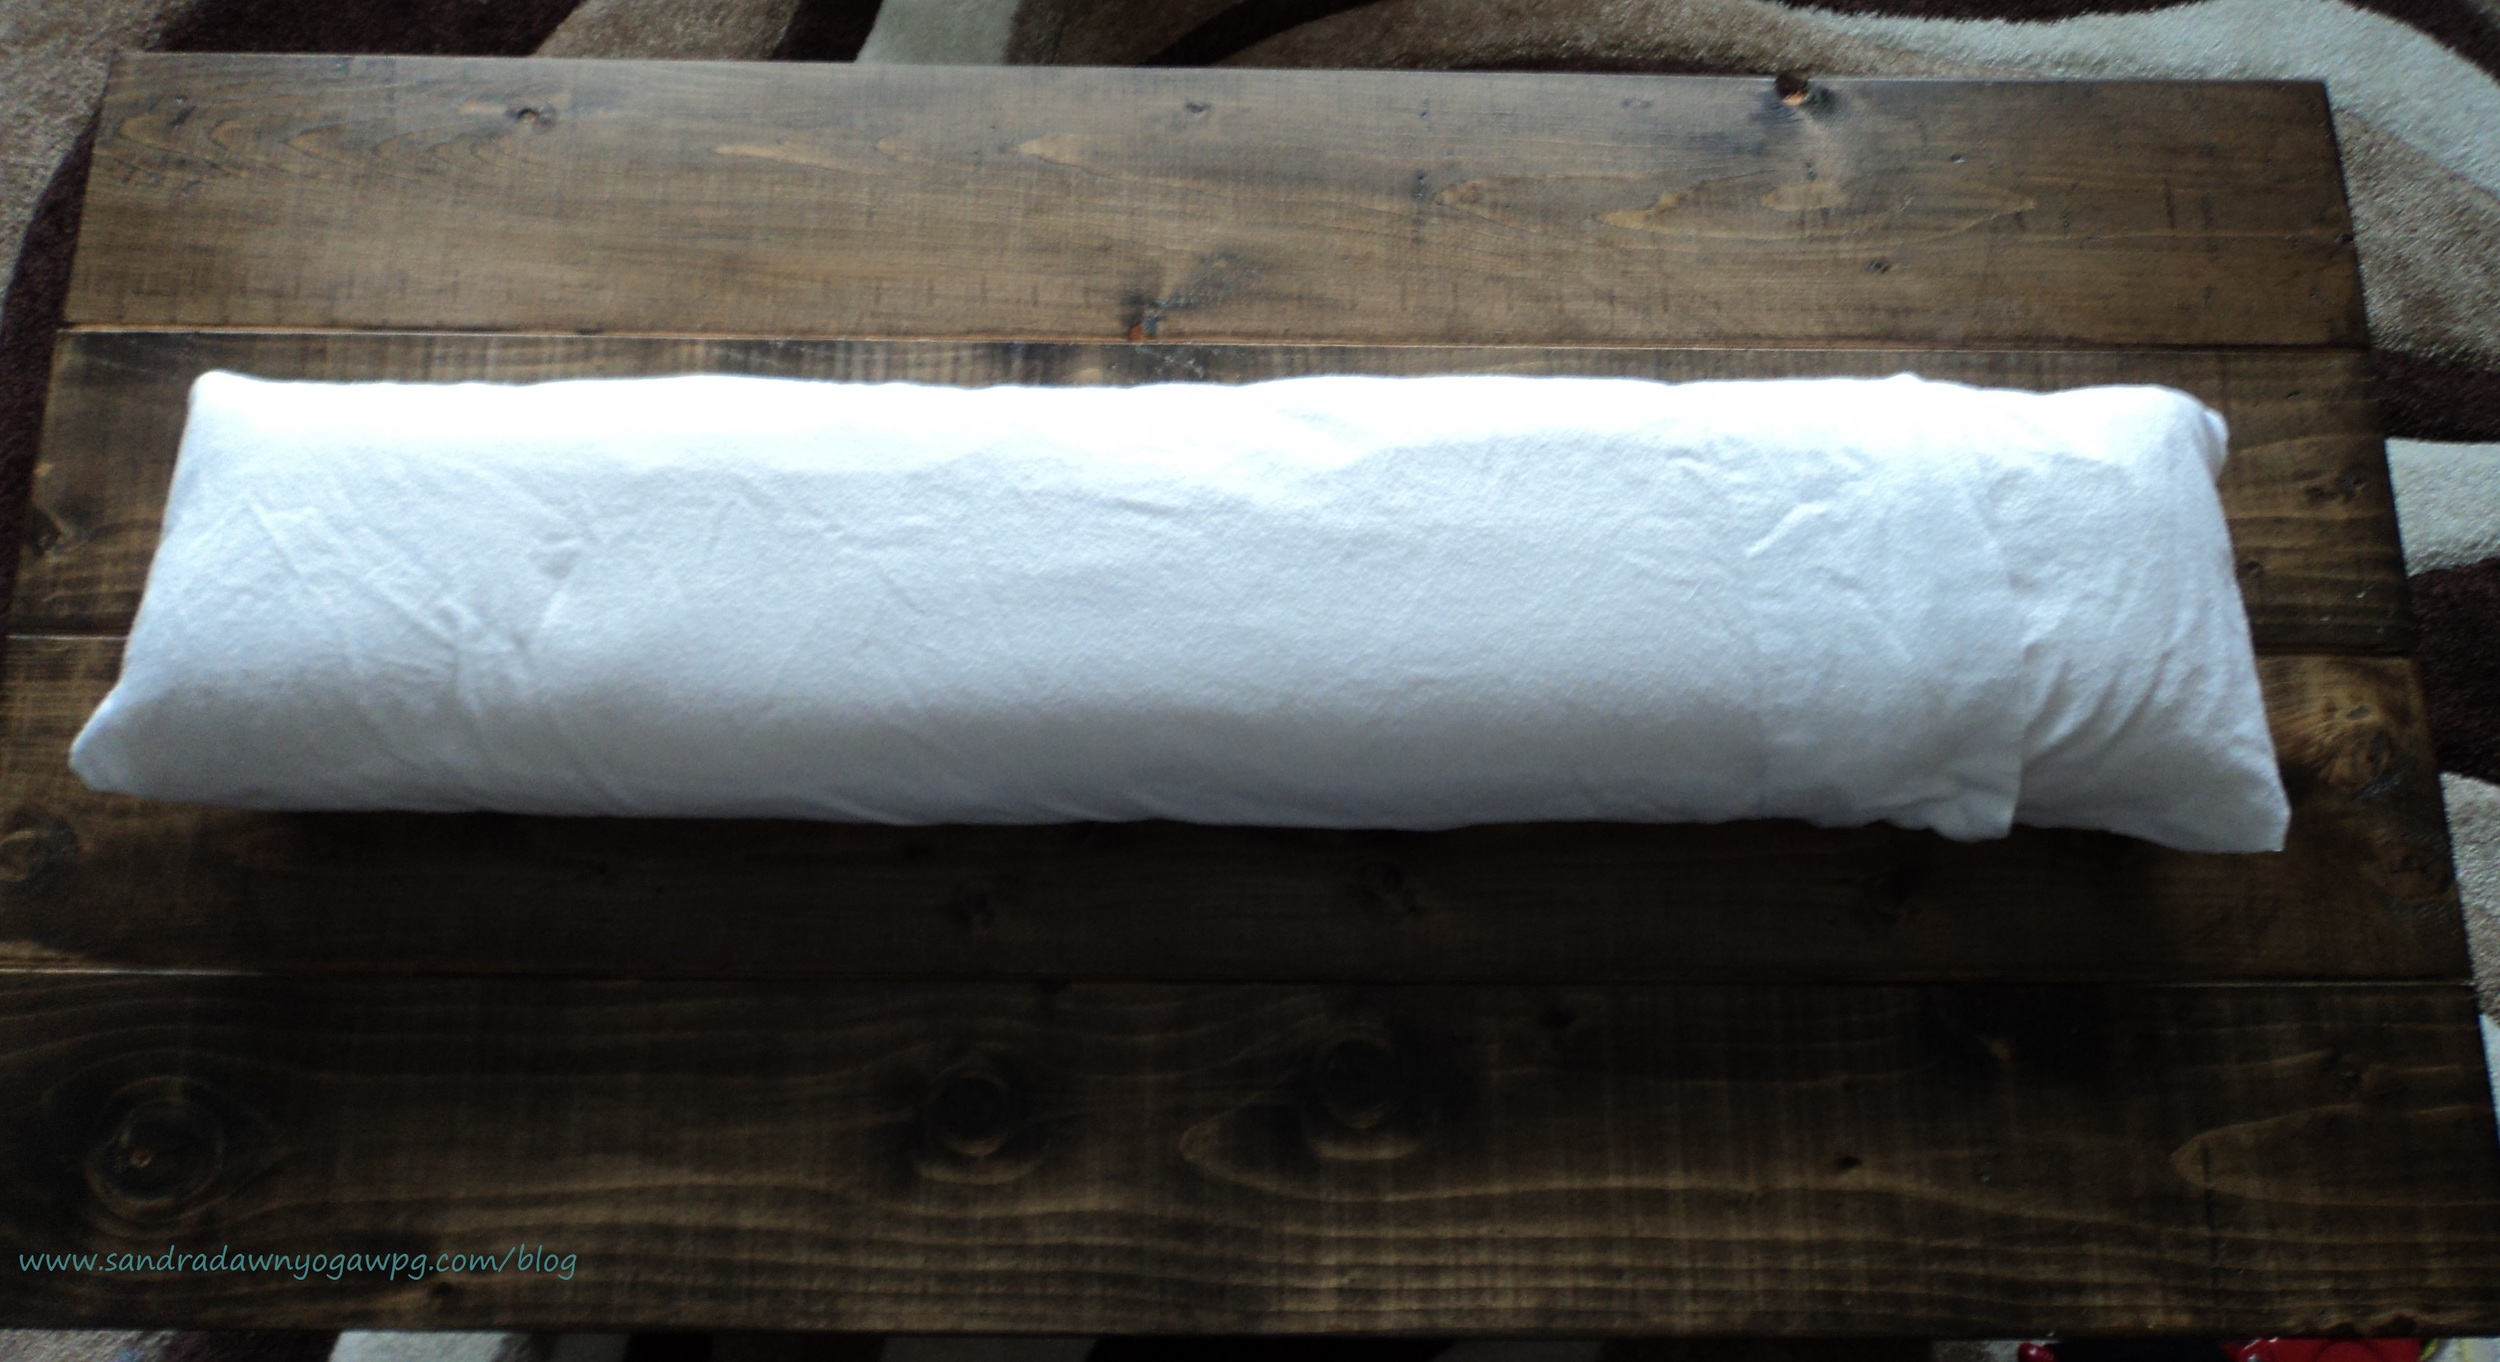
It's really quite simple - I literally made this process up as I went along, which is why some of the photo's are missing details - and took less than an hour to complete. You can make a variety of changes to make this bolster suit your needs - add another piece of pool noodle to make it wider, wrap an old towel around the pool noodles before you roll it in the cotton batting to make it thicker etc. 

Check back in a couple weeks to see some of my favourite restorative poses to do with this Yoga Prop. I'd also LOVE to know if you make one of these yourself, so be sure to let me know by leaving a comment below, sending me your pictures or tagging me in them on Instagram @sandrayogawpg.

Check out Yoga Design Lab for some premade yoga props and be sure to look at their infinity and curve mats, specifically made for taller yogi’s!

As a Yoga Design lab affiliate I earn a commission on eligible sales.

Yin and Restorative - What's the Difference?

As I have been taught, there is a difference between Restorative and Yin Yoga classes, and although many people group them together, I believe they each offer numerous benefits, some the same, but many different.  I would like to attempt to explain the difference for you today. 

In a restorative Yoga class the goal is restoration and healing. The body is generally very well supported by props (yoga bolster, blocks and blankets) so that the body can “rest” into the poses in a more passive way, while the practitioner stays with the pose for a longer period of time. People often come to a restorative class after an injury with considerable limitations. 

Yin yoga also includes longer holds, however the goal is not specifically relaxation and healing – although this very well may be a welcome result! The reason for the longer holds in Yin is to activate and work the connective tissue and fascia in the body – not just the outer layers of muscle – which can greatly improve flexibility. You may still use props and supports in your Yin practice, but by holding the poses longer, it may allow a practitioner to go deeper into poses – something you likely would not work at during a Restorative class. Also, while Yin poses are derived from Hatha style yoga, the names of the poses are different – pigeon pose becomes swan in Yin, for example. 

To sum this up (If I haven’t completely confused you already) I will leave you with a quote about the difference between Yin and Restorative from the Author of "The Complete Guide to Yin Yoga", Bernie Clark, from a Newsletter published in 2012:

“Restorative Yoga takes an unhealthy body and brings it (hopefully) back to normal, while Yin Yoga takes a normal healthy body and brings it up to optimum.”

It is important to point out that in both of these practices – staying in poses for long holds while the body is supported – often the most challenging aspect is staying in the moment, watching your breath and your thoughts, and remaining still in your body allowing it to open and release at it’s own pace. Although we all like to be challenged physically with our chatarunga’s, arm balances and planks, sometimes the real challenge is laying in savasana for 5 minutes at the end of the class without fidgeting and planning our grocery lists in our minds. If this is the case for you, I would encourage you to be open to the challenge of a slower paced class.

Namaste :) 

Sandra 

What Style of Yoga is Right for Me?

As Yoga continues to grow in popularity, there are an overwhelming number of classes to choose from, and whether you’re a beginner or a well-seasoned practitioner, it can be intimidating and confusing deciding on a class. It’s important to understand that there are styles of yoga and brands of Yoga. For example Moksha is a brand of Yoga that provides many different styles of classes. I loved this handy visual that I found online here. I feel like it really gets right to the key points of each style of Yoga. 

Visual from greatist.com

Visual from greatist.com

The classes that I teach are always Hatha based. I have been taught with a focus on alignment, so there are always plenty of verbal cues, demonstration and adjustments (with permission). Some of my classes are more of a flow style, moving from one pose to the next without a break. Some of the flow style classes are gentle and some will work up a sweat! Typically I like to find a balance week to week, so students can focus on both their active and physical practices - building strength and stamina – as well as their quiet practice – focusing on their breath, being still in body and mind and getting a great stretch. 

Be sure to check back next week as I share my thoughts on the often tricky question of: Yin and Restorative – What’s the Difference?

Namaste

Sandra