Yoga Pose: Eagle Pose Part Two - Lower Body

I'm Baaaack!!! I must say that my vacation really worked to relax and re-charge my system! I am very excited to bring the second part of the Eagle Pose tutorial to you today - the lower body. As I shared in Part 1 (check it out here if you haven't already), Eagle pose can be very tricky. Today I'm going to show you how you can work progressively to move into this position, and provide some modifications to help you along the way. Keep reading for tips on moving into this yoga pose and watch the video at the end for some visual cues! 

Pose Difficulty: Beginner - Intermediate

Step One: Warm up your legs with Chair Pose (aka Utkatasana). Chair pose is the first step to moving into the pose so spend some time warming up those Quadriceps with a few repetitions of chair. I like to incorporate it into a flow with some forward bends to equally stretch and strengthen the muscles (see video for a warm up activity). 

Step Two: From your chair pose, keep your Left foot planted, and lift your Right foot off the floor. Keeping your knees bent, cross your Right leg over the Left, like you would if you were sitting in a chair. From here you have a few options:

Option 1: Bring your Right toes to a block (or the floor if the foot reaches) to help keep your balance (best option for Beginners or anyone who struggles with balance)

Option 2: Keep your Right foot in the air and work on your balance here. 

Option 3: Wrap your Right shin, ankle and foot behind the Left shin (see video). 

Step Three: Breathe and feel!

- No matter which above option you chose try and keep the hips level and in one line. 

- Keep bending the standing leg knee and grounding down through the standing leg foot. 

- Keep you gaze soft and steady on the floor in front of your to help with your balance.

- Try to bring your knees and elbow into the mid line of the body.

Try staying here for 5 - 10 deep breaths before untangling your arms and legs - giving everything a good shake out - and then moving to the other side! 

Note: In this pose, you always work with opposite arm and leg positions, so if the RIGHT ARM is UNDER the Left, the RIGHT LEG is OVER the Left.

PS...sorry for the video quality, it's not my best. I wont be using this camera again! 

Real Life: Updates and a little Break

Real Life: Updates and a little Break

Hello!! It's been a minute since I've written a "Real Life" series post (be sure to check out some of the others by searching "Real Life" in the sidebar search option if this is your first time here). These really are some of my favorite posts to write because I get to share pieces of my life with you outside of Yoga. Today I thought I would give an update on how things have been going since I quit my job to focus on my own business and teach Yoga full-time, and also to let you know why this post is up instead of the second half of the Eagle Pose Tutorial that was originally promised (apologies). 

Yoga Pose: Eagle Pose Part One - Arms Only

Eagle Pose - or Garudasana - is a very challenging balance pose that can look and feel quite intimidating when introduced. The problem is, if you only see the full version of Eagle in all of it's glory, you may never even attempt it, and that would mean you are missing out on the many benefits of this glorious pose. So, to avoid the overwhelm and intimidation, we are going to only focus on the upper body portion of this pose today. I am going to provide some tips, tricks, and modifications to make sure you get all the good stuff out of this stretch without having to think about balancing on one foot! Eagle Pose works to open and stretch the upper back and shoulders. I personally love it for shoulder tension that threatens to turn into a headache as it really works to release tightness from the Trapezius muscles. However, it can also be very tricky to move into if you have tight shoulders and back muscles - kind of a "catch 22" right?! Keep reading for some tips on how to move into Eagle Pose Arms, and how you can modify it to fit for you - wherever you are at in your practice! Make sure to check out the video at the end of the post for helpful visual cues. 

"Yoga Pretzels" Card Deck Review

"Yoga Pretzels" Card Deck Review

I am constantly looking for ways to make Yoga fun and engaging for the kids I work with. Whether it's using music or playing a Yoga game, when it comes to teaching kids poses, you sometimes need to get creative! I was really excited when I found "Yoga Pretzels" card deck by Tara Guber and Leah Kalish online, because I often bring visuals when I teach, and was having a hard time finding suitable pictures of the Yoga poses online. When I received these cards in the mail I was pleasantly surprised to see that they were not only colorful and accurate pictures of Yoga poses, but there were also cards for breathing exercises, Yoga games, and partner poses included! Considering that I only paid $8.99 plus shipping, for a total of less than $20.00 from Amazon, I felt like this was a great purchase and well worth the money. 

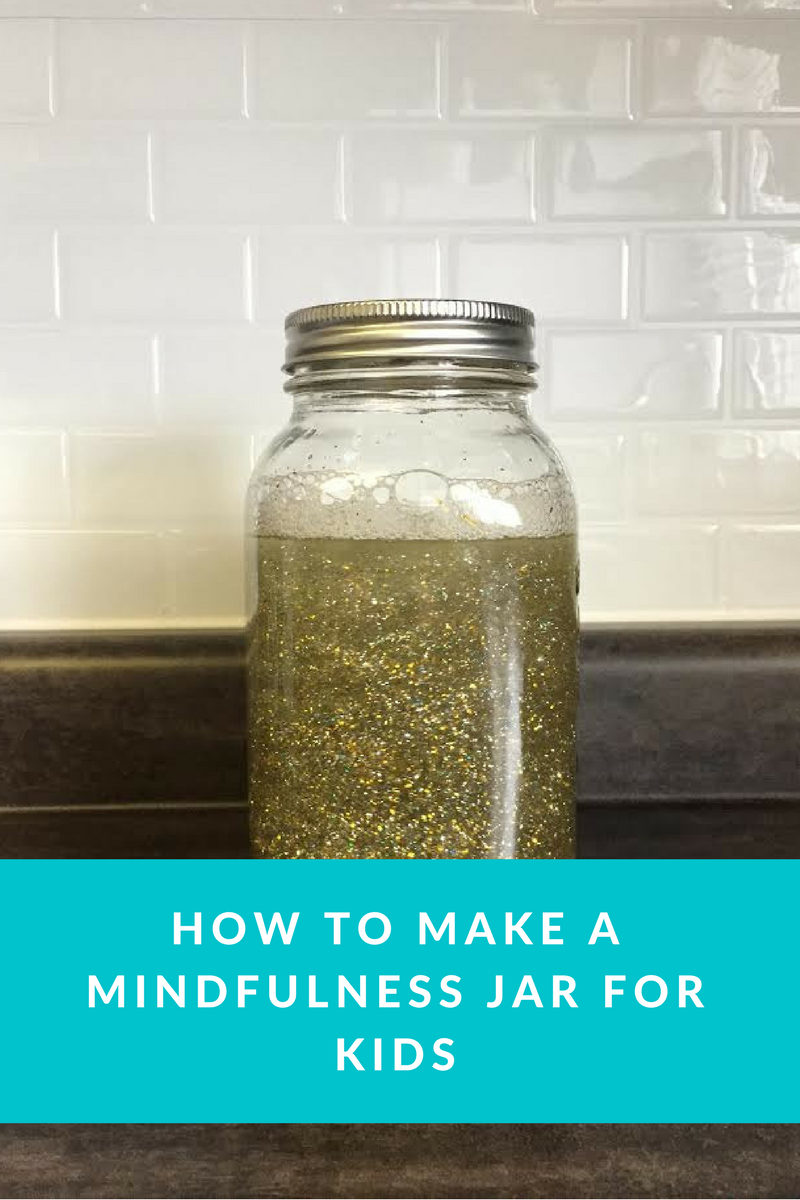
Yoga for Kids: Mindfulness Jars

Yoga for Kids: Mindfulness Jars

Yoga Mindfulness Jars are a fun and pretty way to help teach kids how to handle their emotions. They can help kids calm down and focus when they are struggling, and are great tools to help start the conversation about being mindful or "watching our thoughts". The idea is, the glitter represents our thoughts and feelings. Here's a little script as to how you can explain the mindfulness jar teaching to your kids, and even more importantly, how you can prompt them to use the jar to help them feel calm.