Savasana - some people live for it, some people loathe it, and some people simply do not get why they are being made to lay on the floor for what seems like forever at the end of their Yoga class. Whatever group you fall into, my question is this: Do you really know WHY we do Savasana at the end of class?? Keep reading to learn more about the reasoning and benefits behind this seemingly simple pose.
Pranayama for Beginners Part 3: How do you do it?
So, now you know what Pranayama is and how it can benefit your life and Yoga practice, I wanted to give you two of my favorite breathing techniques that can act as your first steps into the world of Pranayama. The first technique - Ujjayi Breath - is a wonderful breath to bring into your asana practice. I find it really helpful to use this breath to help keep me centered and present during my yoga practice, especially during longer holds. The second technique is one that you can practice on it's own during your day, or at the end of your yoga practice before you lay in savasana. Keep reading to learn how to practice these techniques!
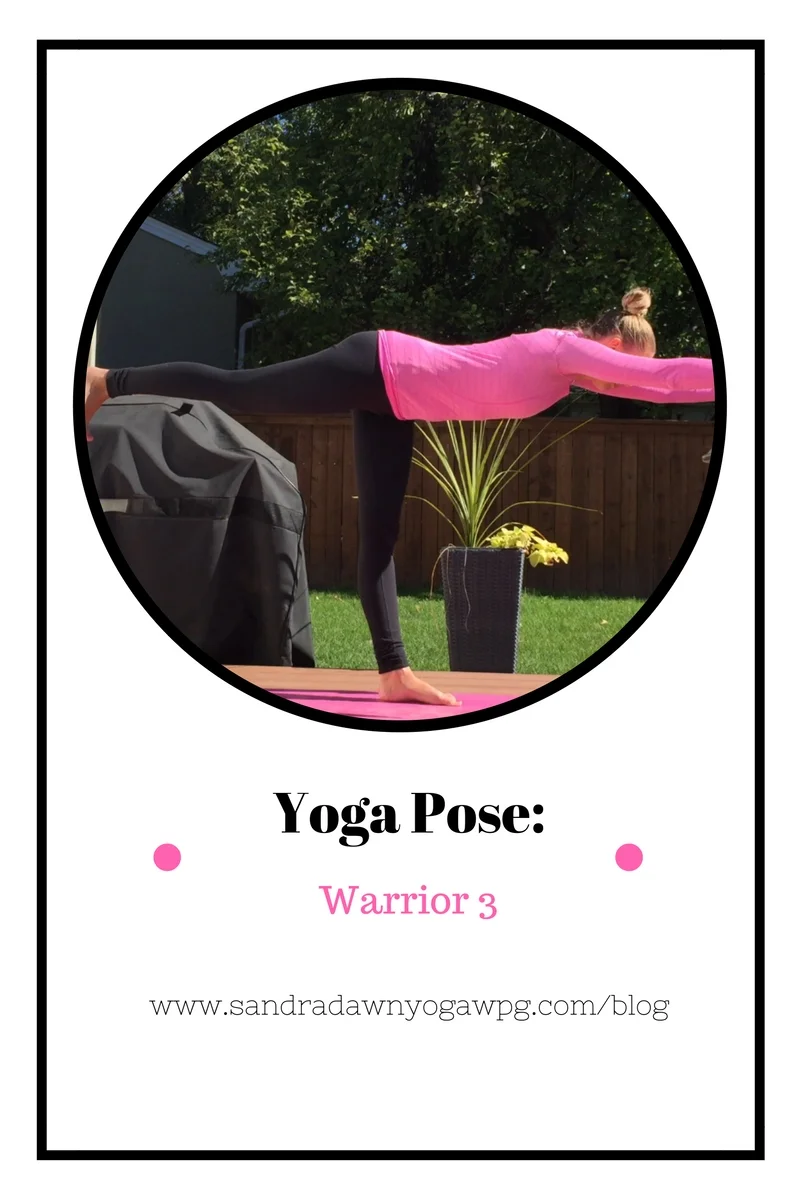
Yoga Pose: Warrior 3
Warrior 3 - Virabhadrasana 3 - is perhaps the most challenging of all the Warriors as it requires strength, balance and flexibility. This pose provides many benefits to it's practitioner, including strengthening the legs, feet and ankles, strengthening the core muscles, opening and toning the shoulder muscles, and helping to improve balance. Keep reading to learn how to move into this pose. Since balancing in this pose can be especially difficult for beginners, I have also included the supported version of this pose as well. Enjoy!
Yoga Pose: Triangle Video Tutorial
Triangle - Trikonasana - is a beautiful and challenging standing posture. It stretches and strengthens the legs - specifically the quads, hamstrings, and hips - strengthens the core, lengthens the spine and the sides of the waist, and opens the heart space. Keep reading to learn how to safely move in to this posture and how to modify it to fit your needs. Check out the video at the end for visual cues!
Difficulty Level: Beginner - Intermediate
Step one: Beginning in tadasana, facing the long edge of your yoga mat, take a wide step bringing your feet about a leg length apart or a little wider. Check to make sure the baby toe edge of the feet are parallel with the short edges of the mat.
Step two: With an exhale, turn the right toes out 90 degrees. Make sure that you are turning the leg from the top of the thigh so that the right knee is pointing the same direction as the toes. If it is comfortable in your body, you may try turning the left toes in slightly.
Step three: With an inhale, bring the arms up to shoulder height. Extend through the finger tips so the arms stay long and strong!
Step four: With an exhale, side bend from the right hip crease, keeping both legs straight if possible. As you side bend, reach forward through the right arm, finding the length through the spine and the side body.
Step five: Bring the right arm down either to the block behind the right calf, or in front of the right shin (see video for details), stretching the left arm straight up.
Step six: Breathe and Stretch
Continue lengthening the spine by reaching through the crown of the head.
Continue grounding through the feet and legs.
Lift the left shoulder up and back, lifting the heart space so the chest opens.
Try staying here for 5 deep breaths.
Step seven: To come out, press into both feet, firming into the legs, lifting the upper body back to standing. Then release the arms, turn the right toes to face the same direction as the left, and heel toe the feet in. Give those legs a little shake out and move to the other side!
Note for beginners: To help with stability in this pose, try it with the baby to edge of your left foot pressed into a wall. Also, if the block is too low for you to reach when on it's highest height, you can use a chair instead!
Yoga Pose: Tree Pose
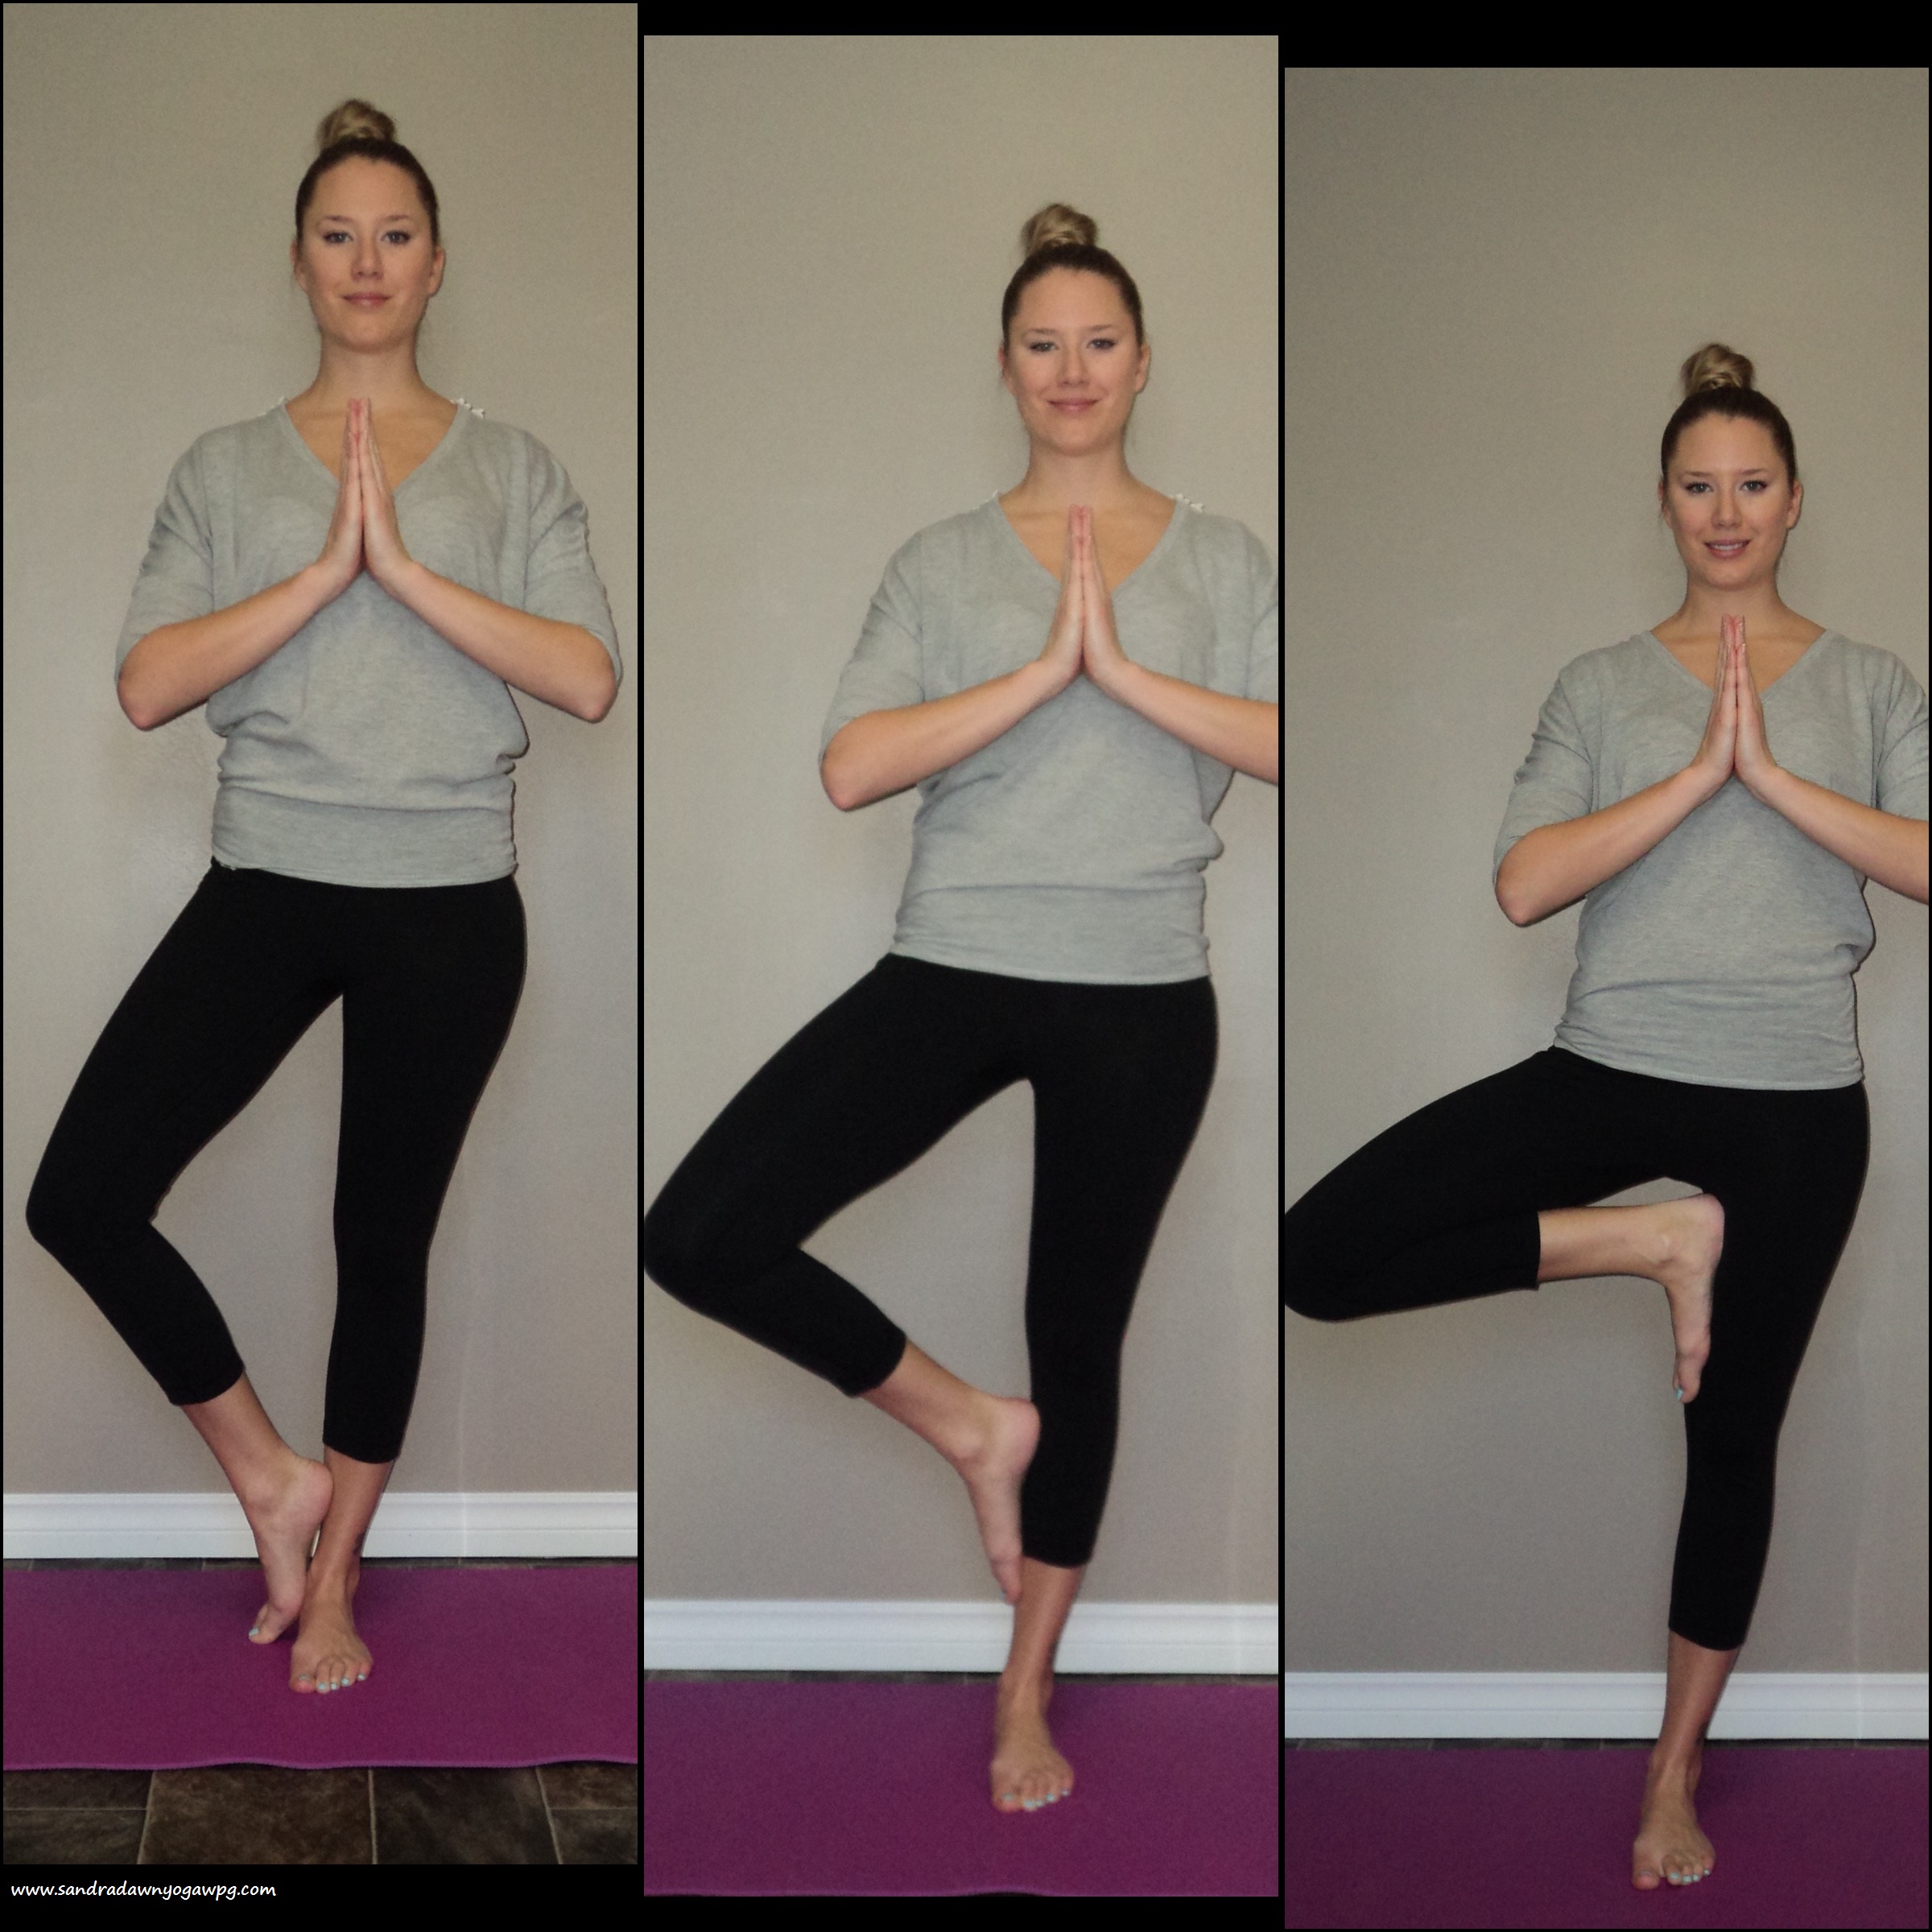
Tree Pose - Vrksasana - is my favourite of the balancing poses. It really allows me to focus on grounding into the earth (or rooting - since we are a tree ;)) while finding my balance and lengthening through the spine and upper body. Of course, there are lots of benefits to this pose, including increased balance and strengthening of the legs, feet and ankles. There are three ways you can practice Tree pose - as pictured above - you can keep the toes resting into the ground to help with balance, you can bring the foot to the inner calf, or up into the inner thigh. Work where you are at! Keep reading for more details on how to move into this pose and find a helpful visual at the end of this post.
Difficulty Level: Beginner
Step One: Begin by standing in Tadasana, keeping your hands on your hips, focus on grounding through the four corners of your Left foot into the mat. You may want to try picking up the Right foot just to test the balance.
Step Two: Bend the Right knee, either placing the foot to the Left inner calf, thigh, or keeping the toes onto the mat for extra support. IMPORTANT: Please do not place the foot on the knee joint.
As you bend the knee, you are externally rotating the hip joint - so the knee is now pointing away from the Left Leg. As the Right foot presses into the Left leg, the Left leg presses back into the foot.
Step Three: Notice where your hips are in space. Often the hip on the bent leg lifts up in this pose - we want the hips to be level. Keeping the hands on the hips, try bringing the hip bones into one line.
Step Four: Breathe and Balance. Try staying her for 10 breaths - remember, it's ok if you fall out, just try your best!
Palms can join at Heart center.
Shoulders release down and away from the ears.
Spine is long, reaching through the crown of the head as the foot continues to ground you to the earth.
Perhaps you can raise the arms, stretching and lengthening through the upper body, reaching the finger tips to the sky.
Step Five: To release, bring the hands back to the hips and carefully step the right foot to the floor. Now try on the other side!


