I am back with another post breaking down the Your Best Yoga Manifesto (You can read about lines 1-4 here and here)! Keep reading to find out more about why I included line 5 and what it really means to me. Disclaimer: I am writing this post as my own informed opinion, point of view, based on my current knowledge and education. I am not a doctor or someone who has studied biology, anatomy, or physiology extensively.
If you don't look like the person in the picture in the yoga book, you are not necessarily doing it wrong. If you don't look the same as your neighbour, friend, brother, or yoga teacher, when you move into a pose, you are not necessarily doing it wrong. There certainly is a "right" way to move into postures in terms of alignment and adjustments, but some people may enjoy and benefit from using certain Yoga props while others may not. One of you isn't wrong. There are a variety of reasons that two peoples postures - when done with correct alignment - would look different. For the purpose of this blog post I am going to focus on 3 of them: Flexibility in the muscular body, Skeletal Make-up and Body Proportions.
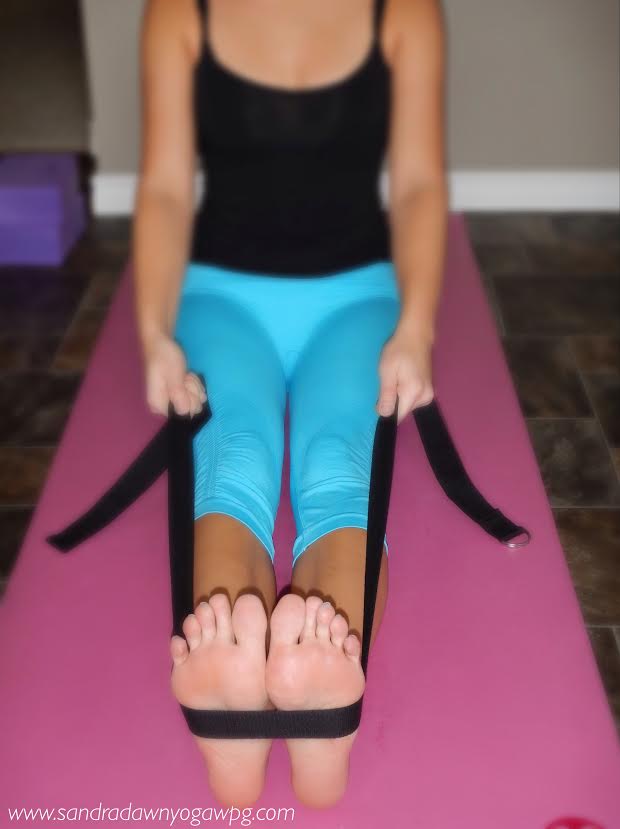
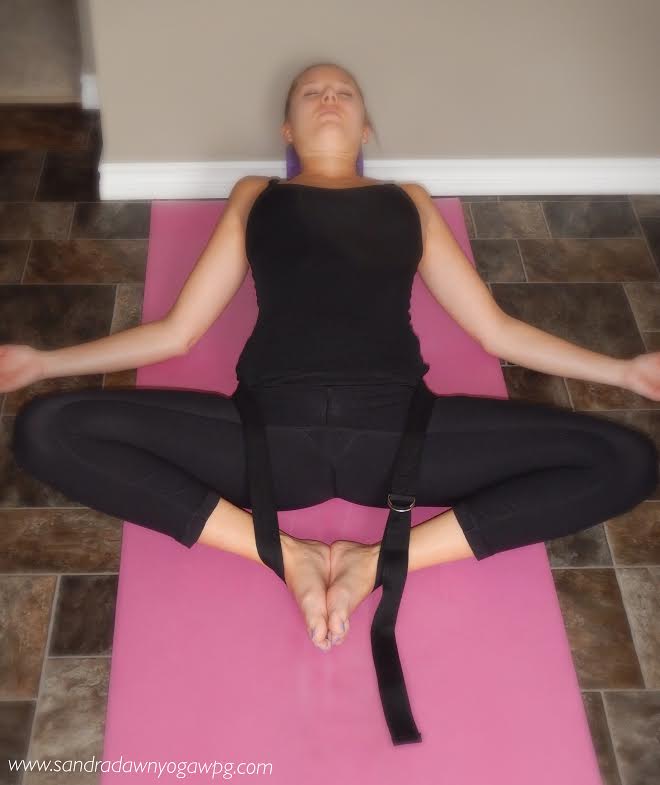
1. Flexibility of the Muscles: This particular limitation is probably the most familiar and the most talked about in terms of a reason for someone shying away from yoga. The truth is we all enter our first Yoga class with varying degrees of flexibility and tightness in a variety of muscles. While I am sure, if you tried quite hard, you could find someone with the exact same tight muscles as you, the reality is some of us have super tight hamstrings but open shoulders and some of us have locked up hips and a spine that can fold in-half backwards. Depending on the tightness you and your neighbouring practitioner are experiencing, you will look different in a Yoga pose. Take Downward Facing Dog for example - Someone with tight shoulders is often rounded through the shoulders, chest, and back, while someone with tight hamstrings can't get their heels to the ground or keep their knees straight. No one is doing anything wrong here, they're bodies will open the more they practice, they can use props to support their bodies, and over time they will likely start looking more similar in shape, but they still will not look exactly the same, because of the next two points.
2. Skeletal Make-up: Each of us are made up of femurs, tibia's, pelvis' etc. But each person's skeleton is not created equal. We are not walking around with carbon copy femur bones and knee caps, and because of this, we may not have the same abilities, simply because of the structure of our bones, and the way they are put together, which leads to my last point. (there is more information and discussion about this topic here if you are interested)
3. Body Proportions: Recently in my advanced teacher training, our instructor had us line up by height and stand with our arms by our sides. We then each had a turn to step out of the line and observe the students. It was incredibly interesting to look at two people who are relatively the same height and notice how differently their bodies are proportioned. So, lets think about Downward Facing Dog again. If you see the tutorial that I put up here, you may notice that I am generally proportionate in this pose. That is to say that my arms and upper body are the same length as my legs in this pose, so I look like an upside down "V". If someone has shorter arms they will not look like this and they won't experience this pose the same way I do as they likely feel a lot more weight in their hands in this pose. They certainly aren't doing anything wrong, but they may enjoy using props in their practice, such as blocks under their hands in Downward Dog, and their neighbour may not ever do this.
Basically, we can only work with what we got! I am just fine with that for myself and with any students that I teach. We need to respect our limitations, and also respect our abilities, because at the end of the day, no matter what we look like, if we are practising yoga, our bodies are able to move and support us, and that is pretty great.
If you want to sign up for the Your Best Yoga Beginner class Spring Session, there are only 4 spots left - Sign up before April 13th :)